Register for the Starbrite Customer Portal
This step-by-step tutorial will talk you through how to register to start using the portal from the Starbrite web site.
Initial steps
From a computer or laptop
- From a web browser, navigate here.
- Continue with step 1 of the 'Registration Process' below.
From a mobile device
- From an Apple or Android deivce, download the 'ThinkSmart Portal' app from your relevant app store. The app icon looks like the image below:
- Install and start the app. The following screen will be displayed:
- Click the 'Code' option at the top of the screen and enter the code NGR6PX8P, followed by the 'Submit' button.
- Continue with step 1 of the 'Registration Process' below.
Registration Process
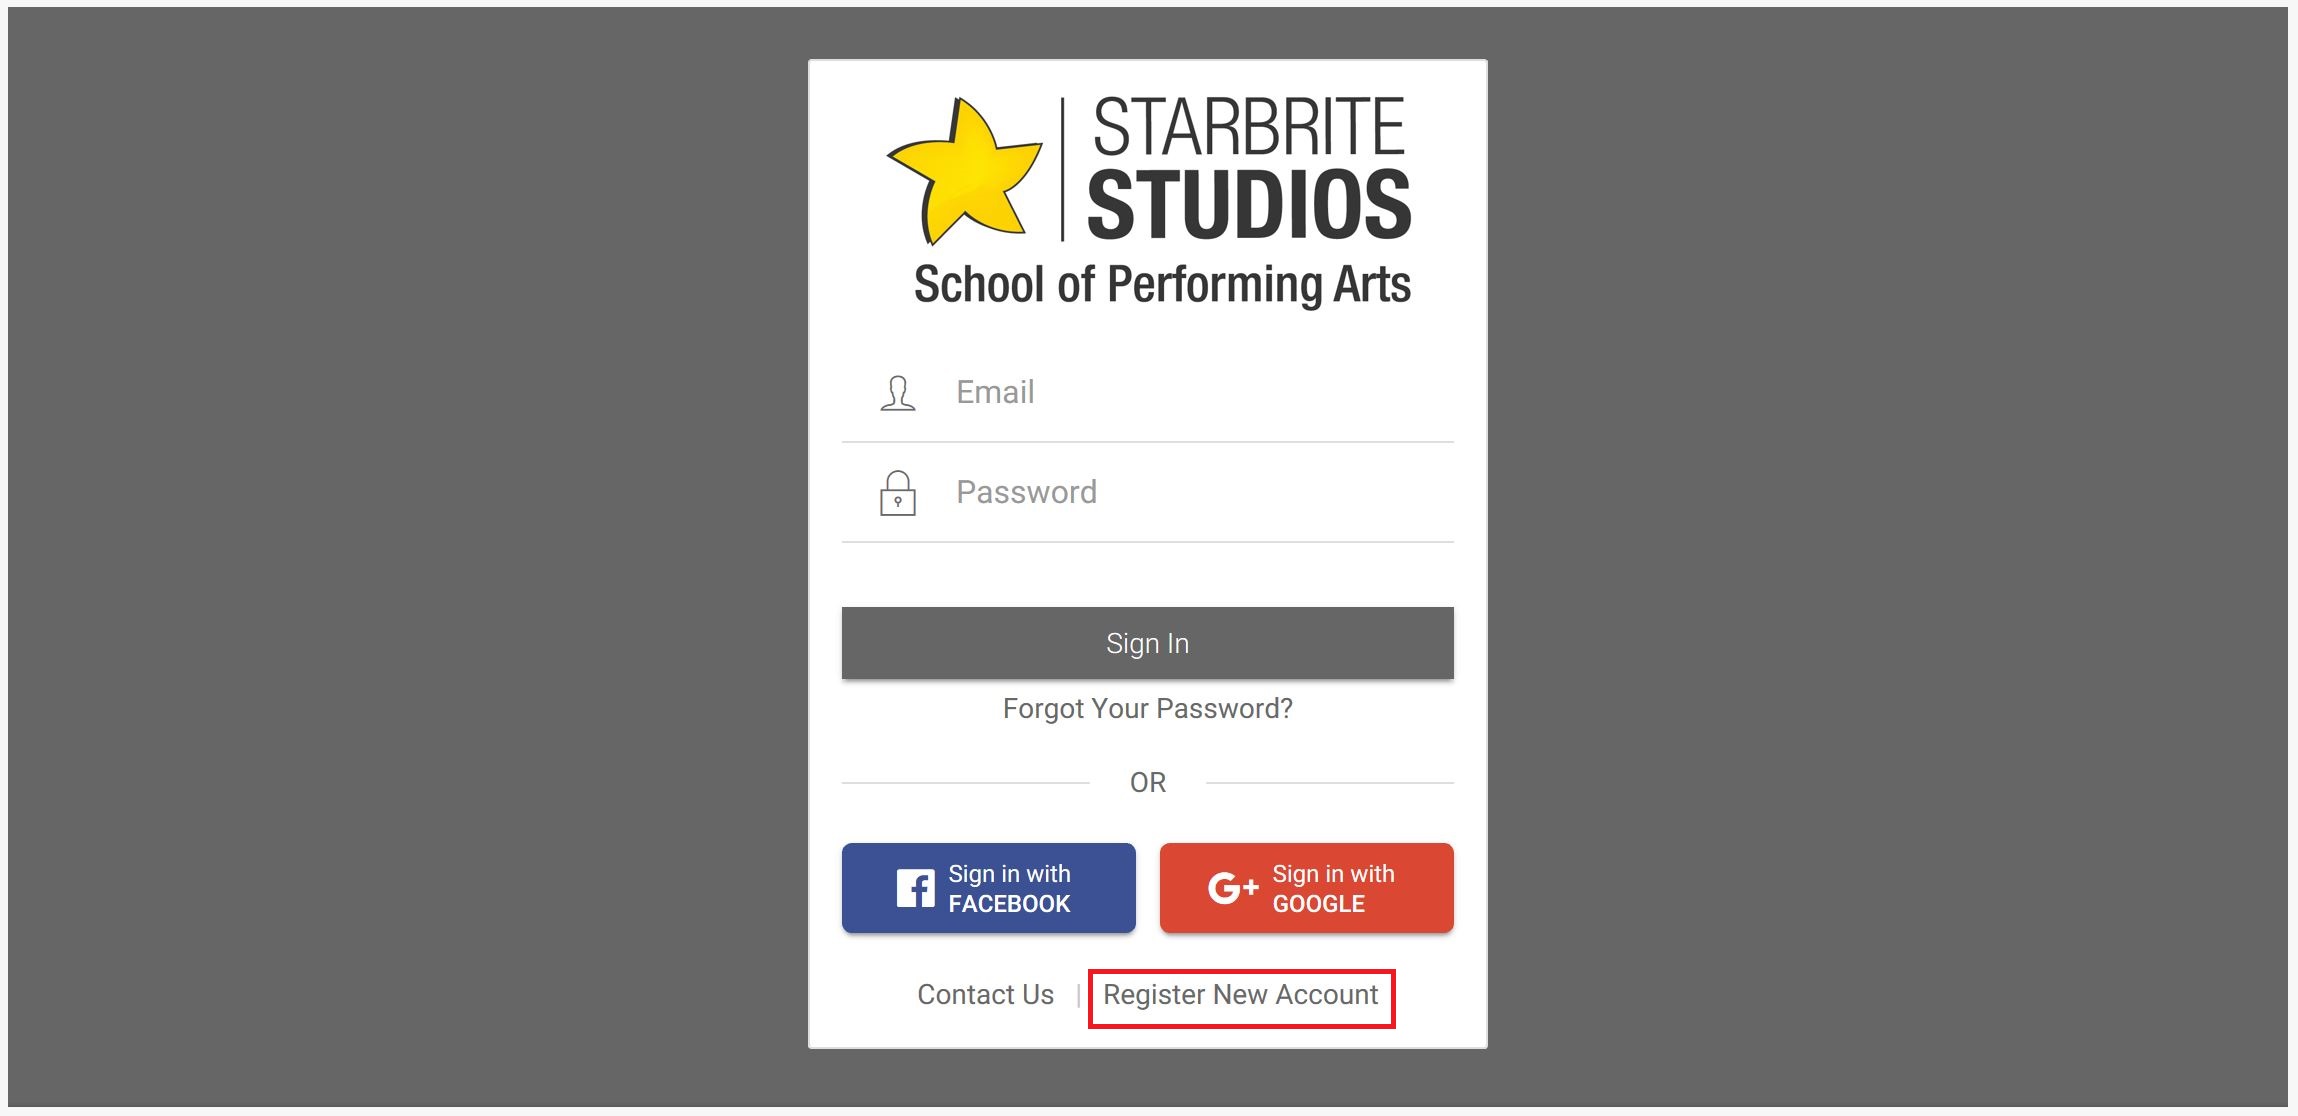
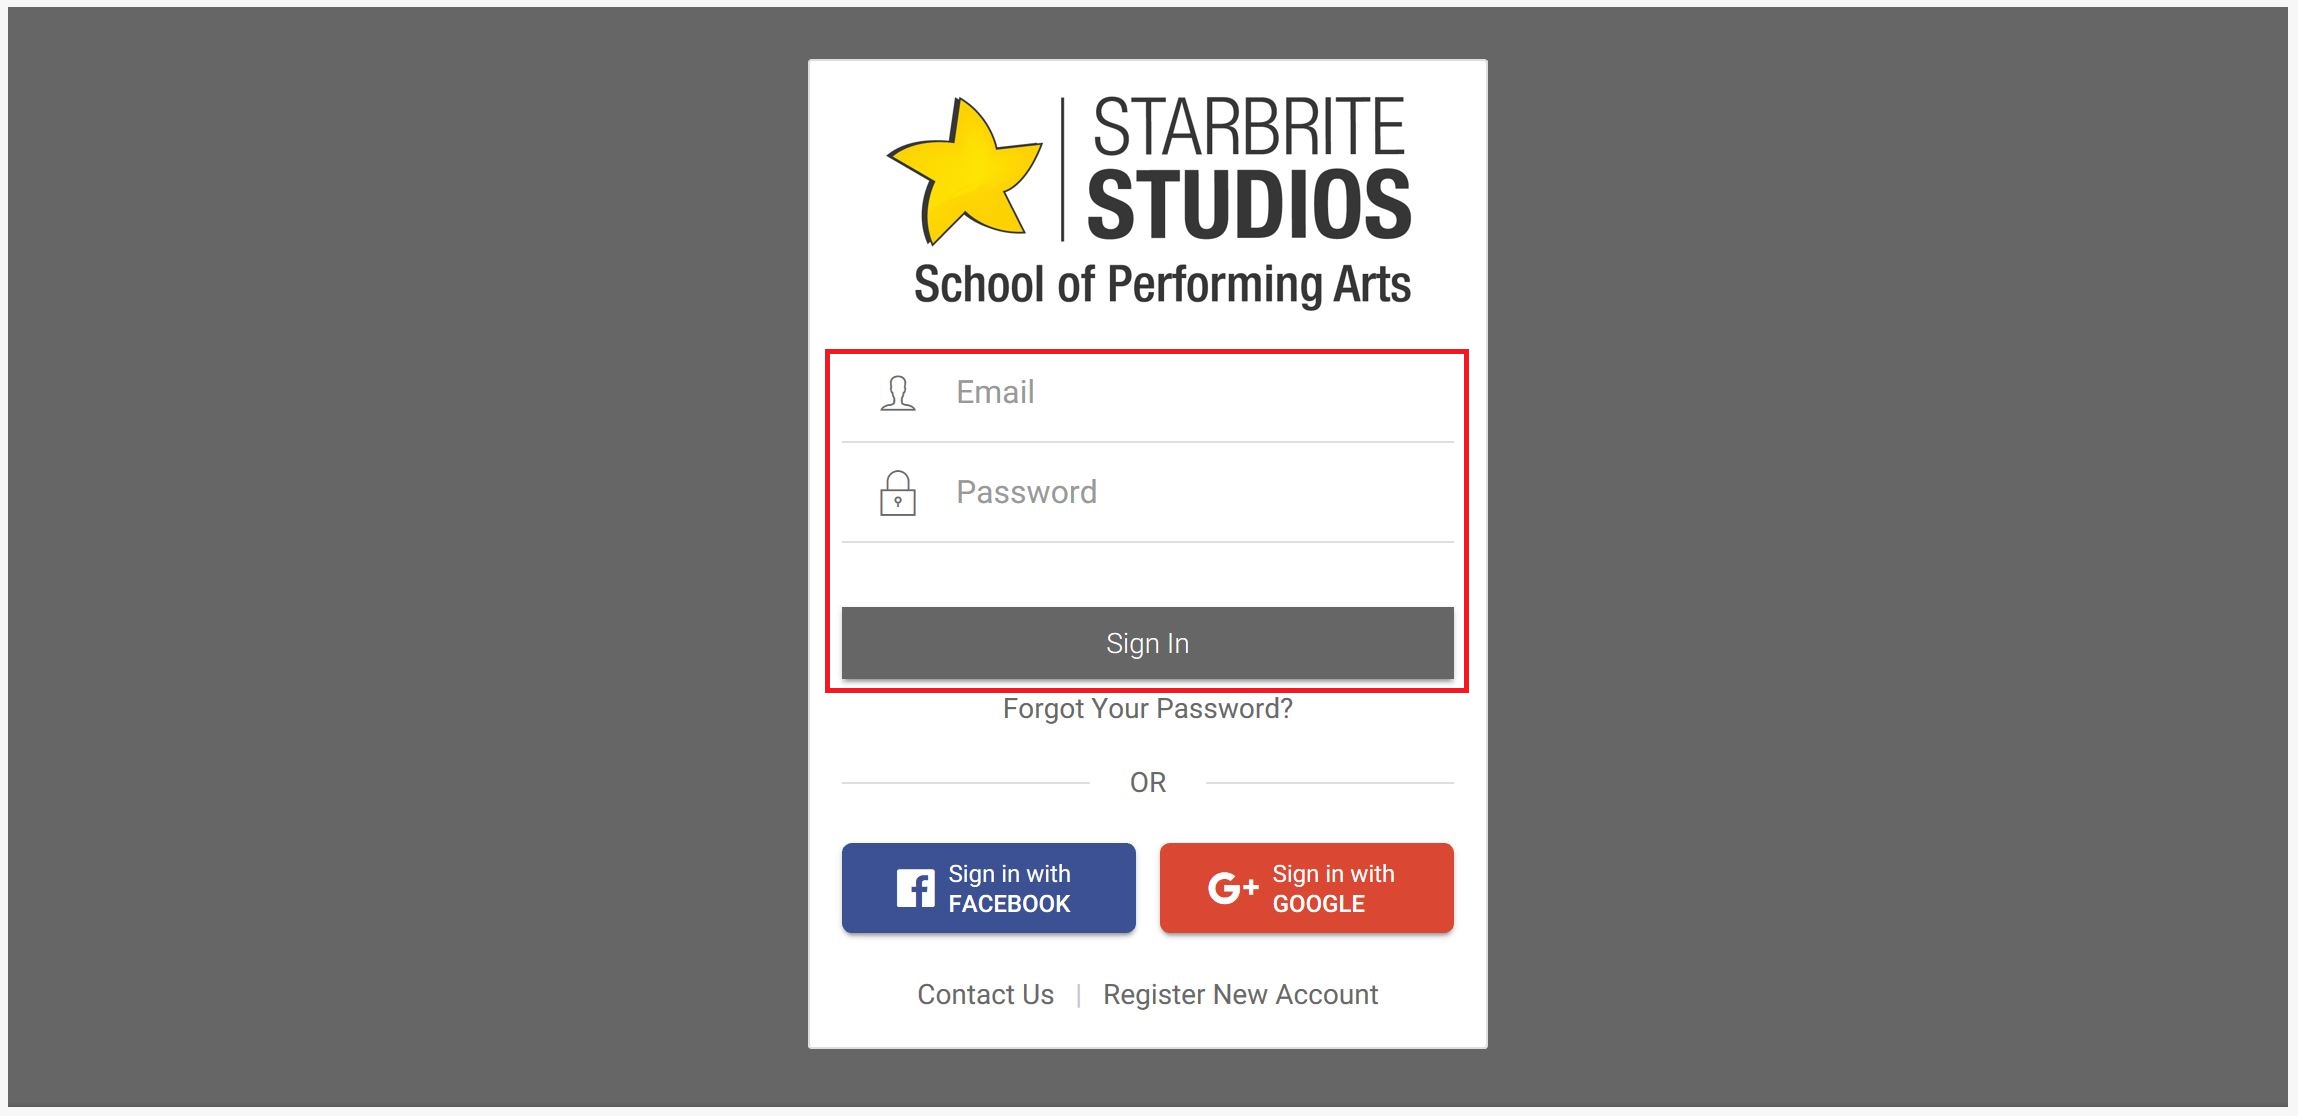
- The registration login screen is displayed. Click the 'Register New Account' link.
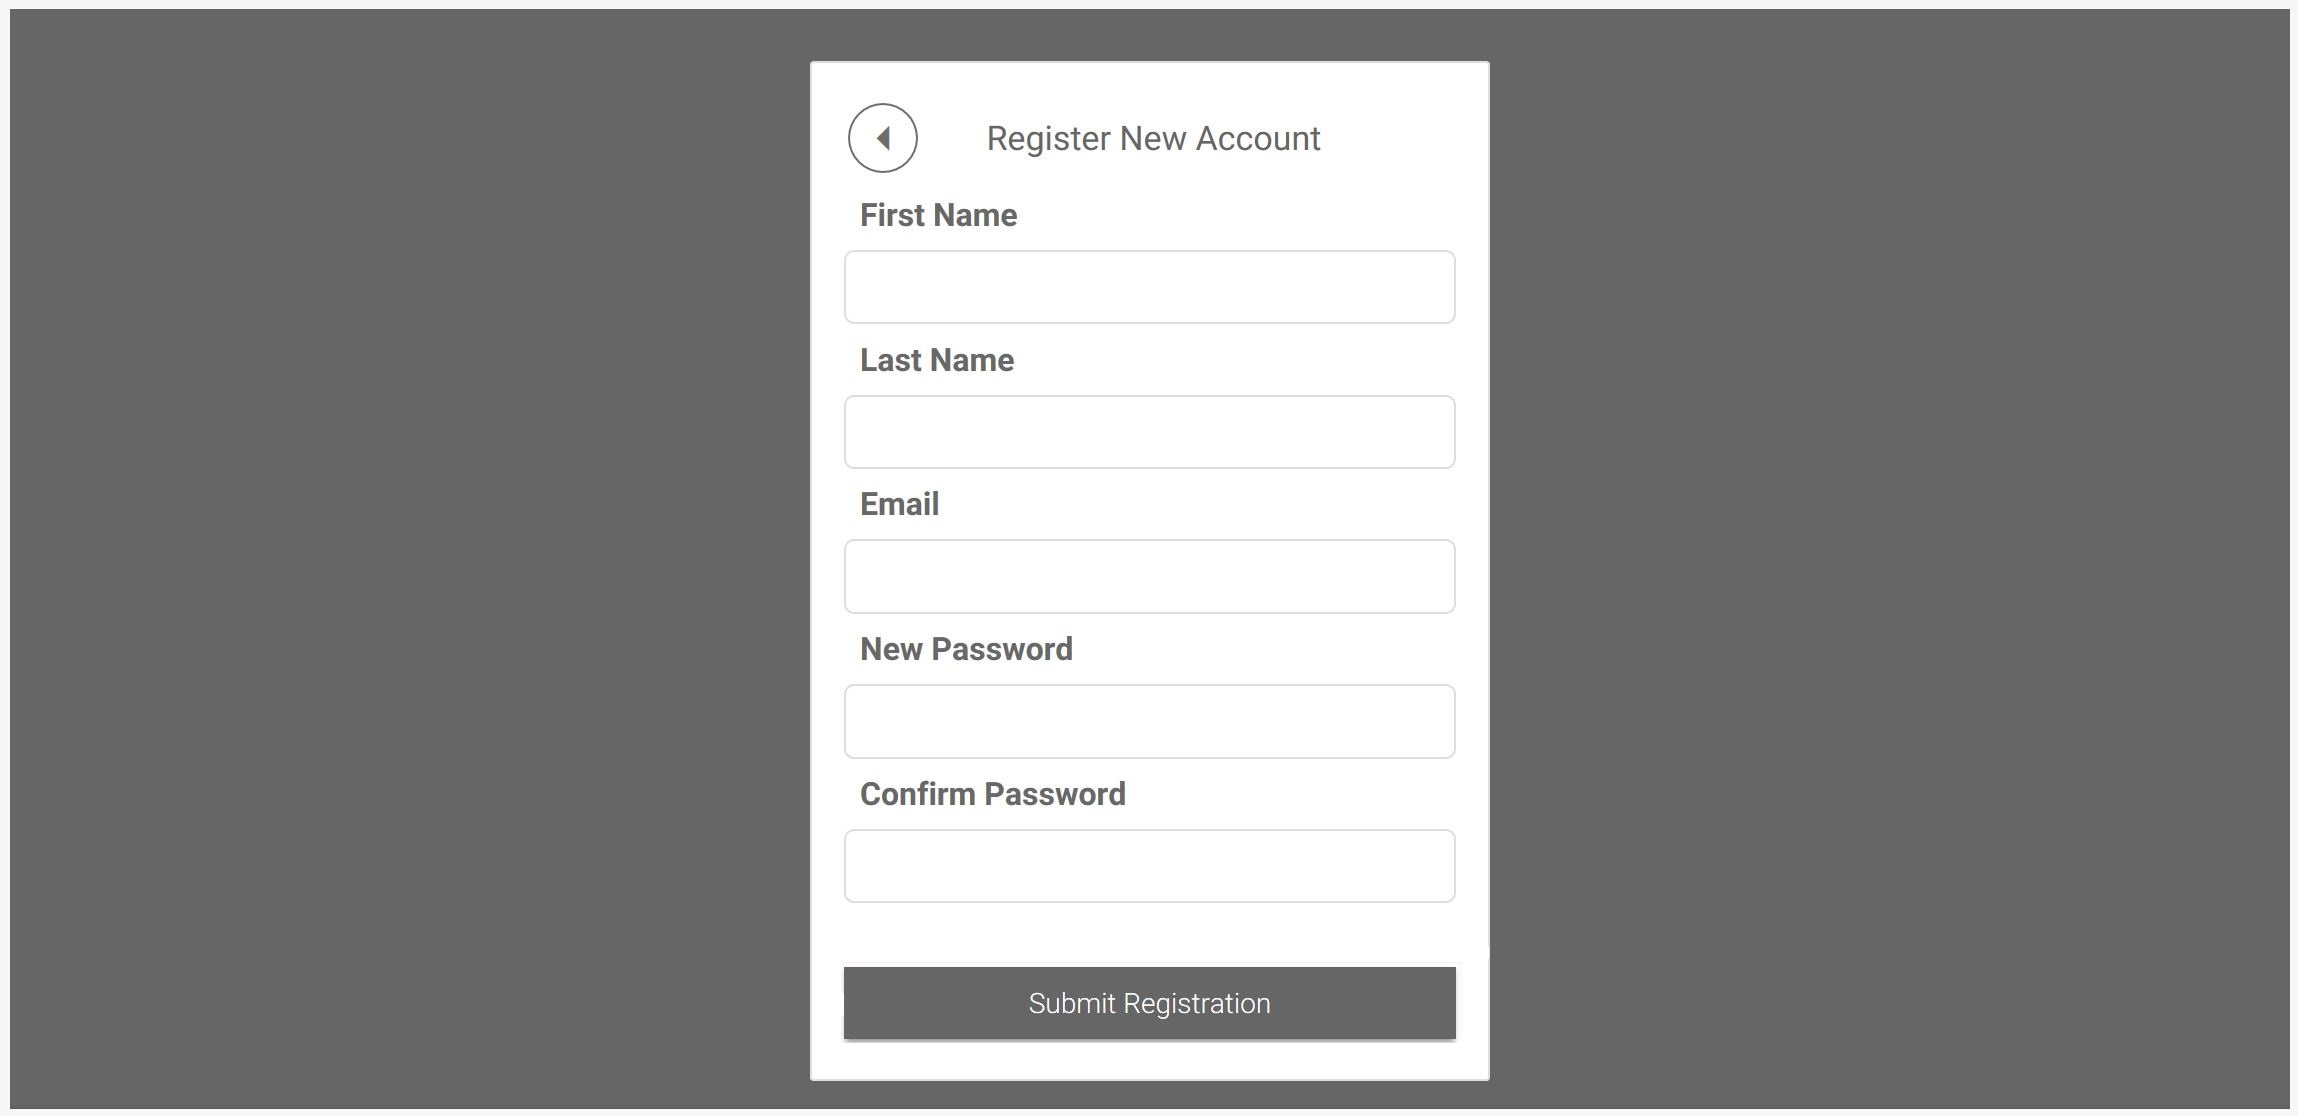
- The 'Register New Account' screen is displayed.
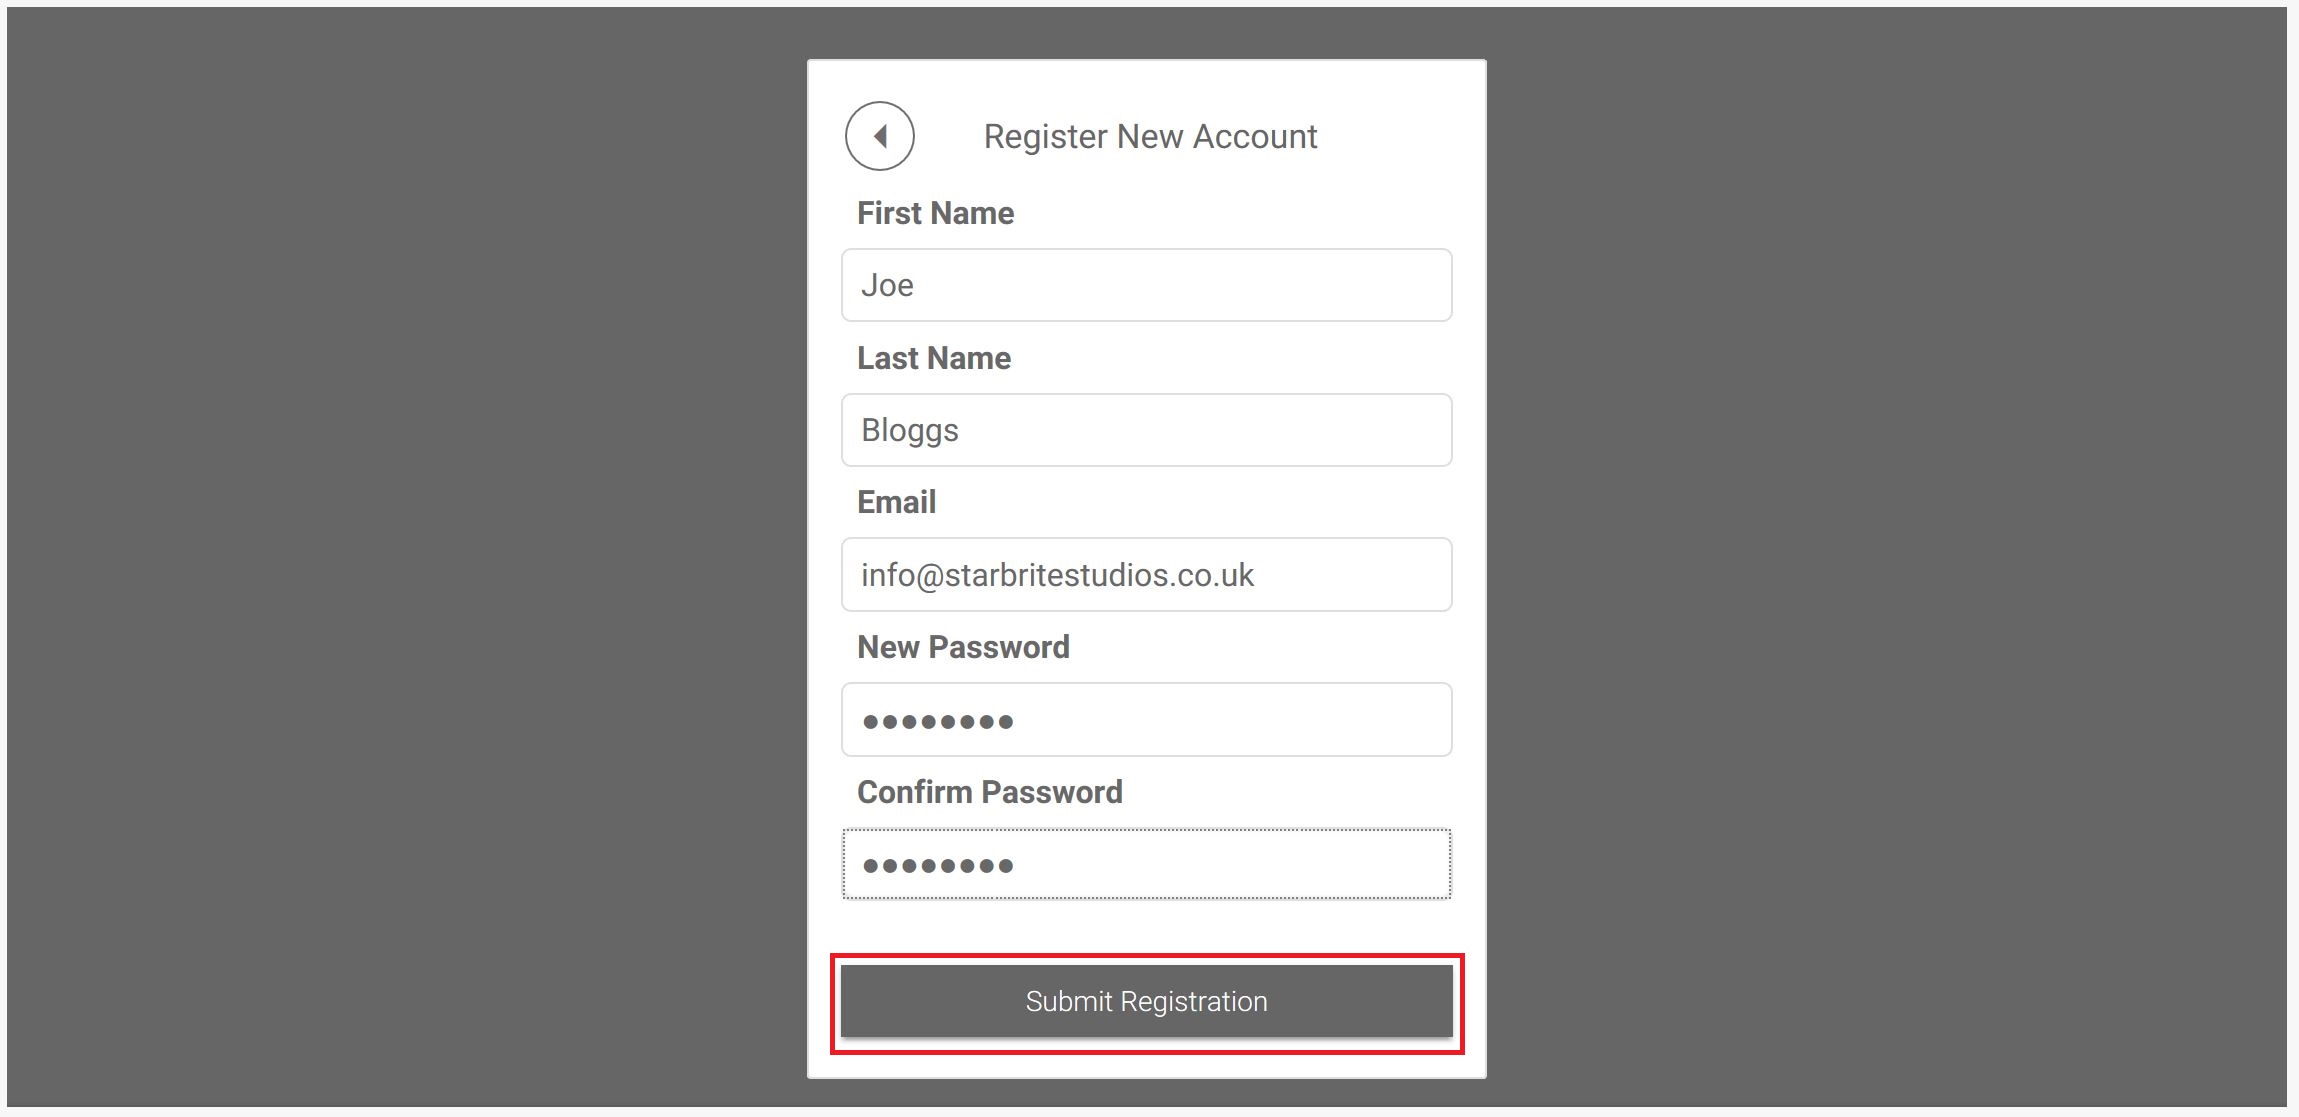
- Complete the 'First Name', 'Last Name', and 'Email' boxes and enter a new password in the 'New Password' and 'Confirm Password' boxes. It is important to remember your password as you will be asked to enter it once Starbrite has accepted your application. Click the 'Submit Registration' button.
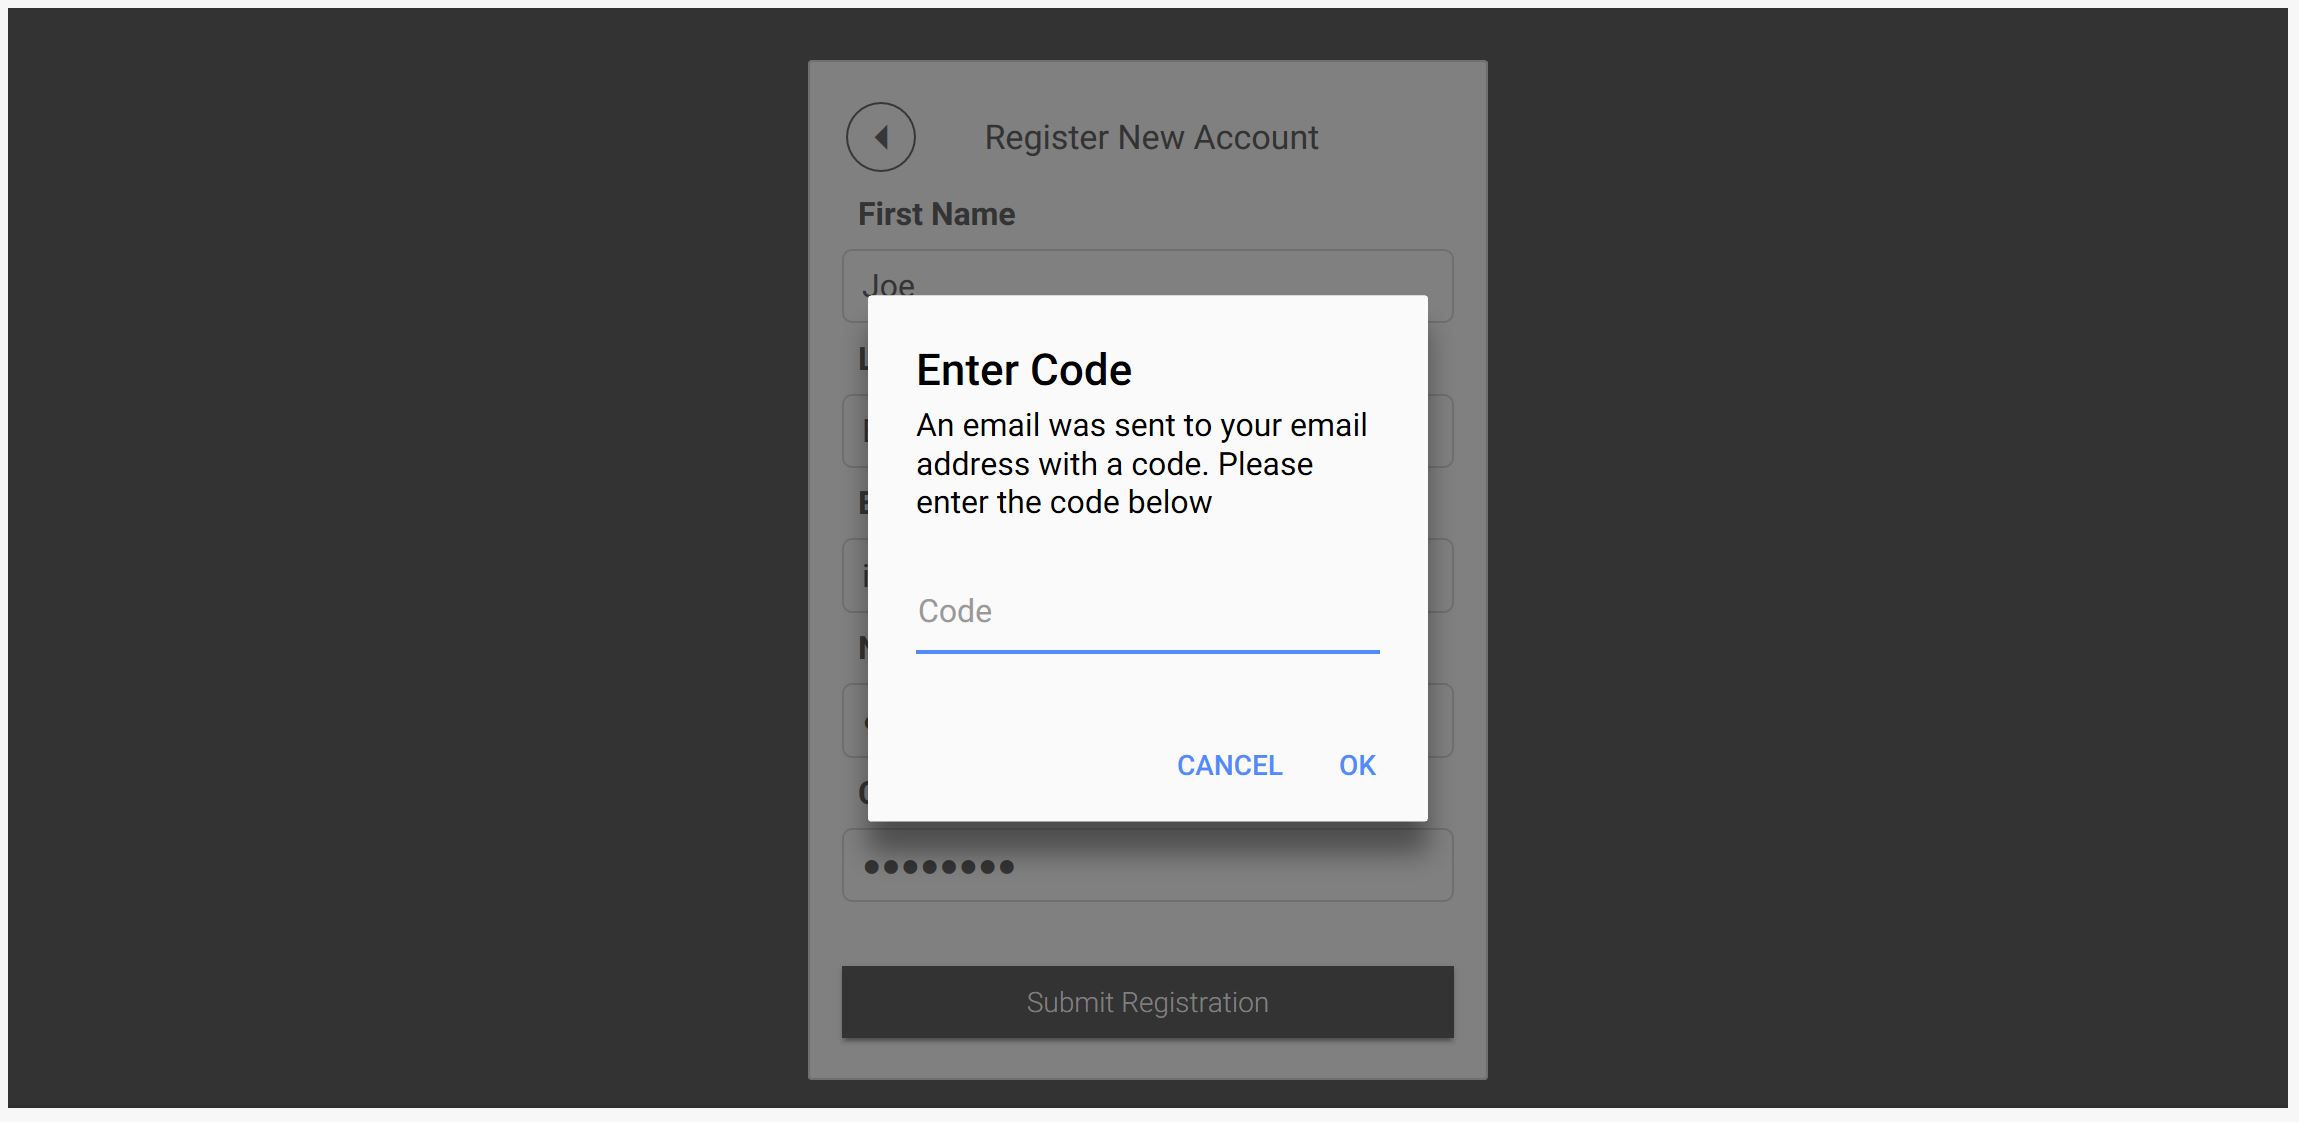
- The screen will prompt you to enter a code which has been sent to the email address you entered during the previous registration steps.
- Check your email inbox for the message containing the code and enter the code in the 'Enter Code' screen from the previous step.
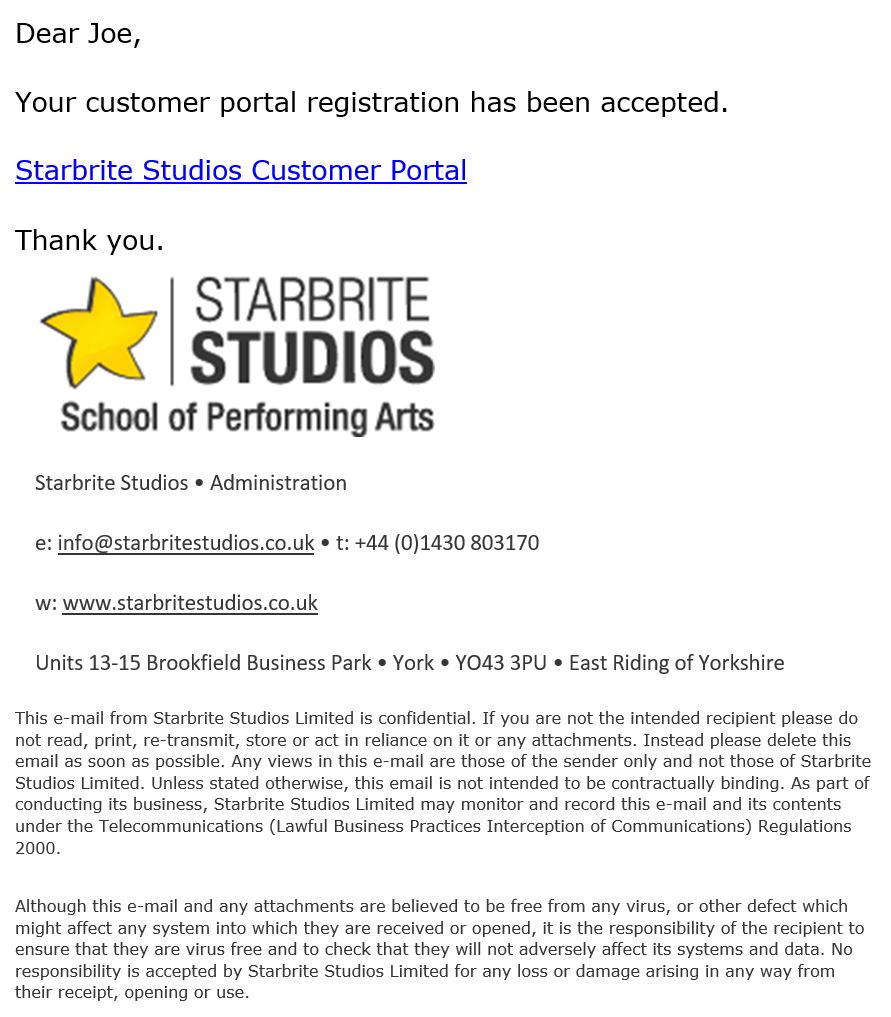
- Starbrite will review your registration application and you will be notified by email if your application has been accepted.
- When you receive an acceptance email message, repeat steps 1 and 2 to return to the Book Classes section of the Starbrite Studios home page. This time, enter the email address and password you entered during the registration process and click the 'Sign In' button.
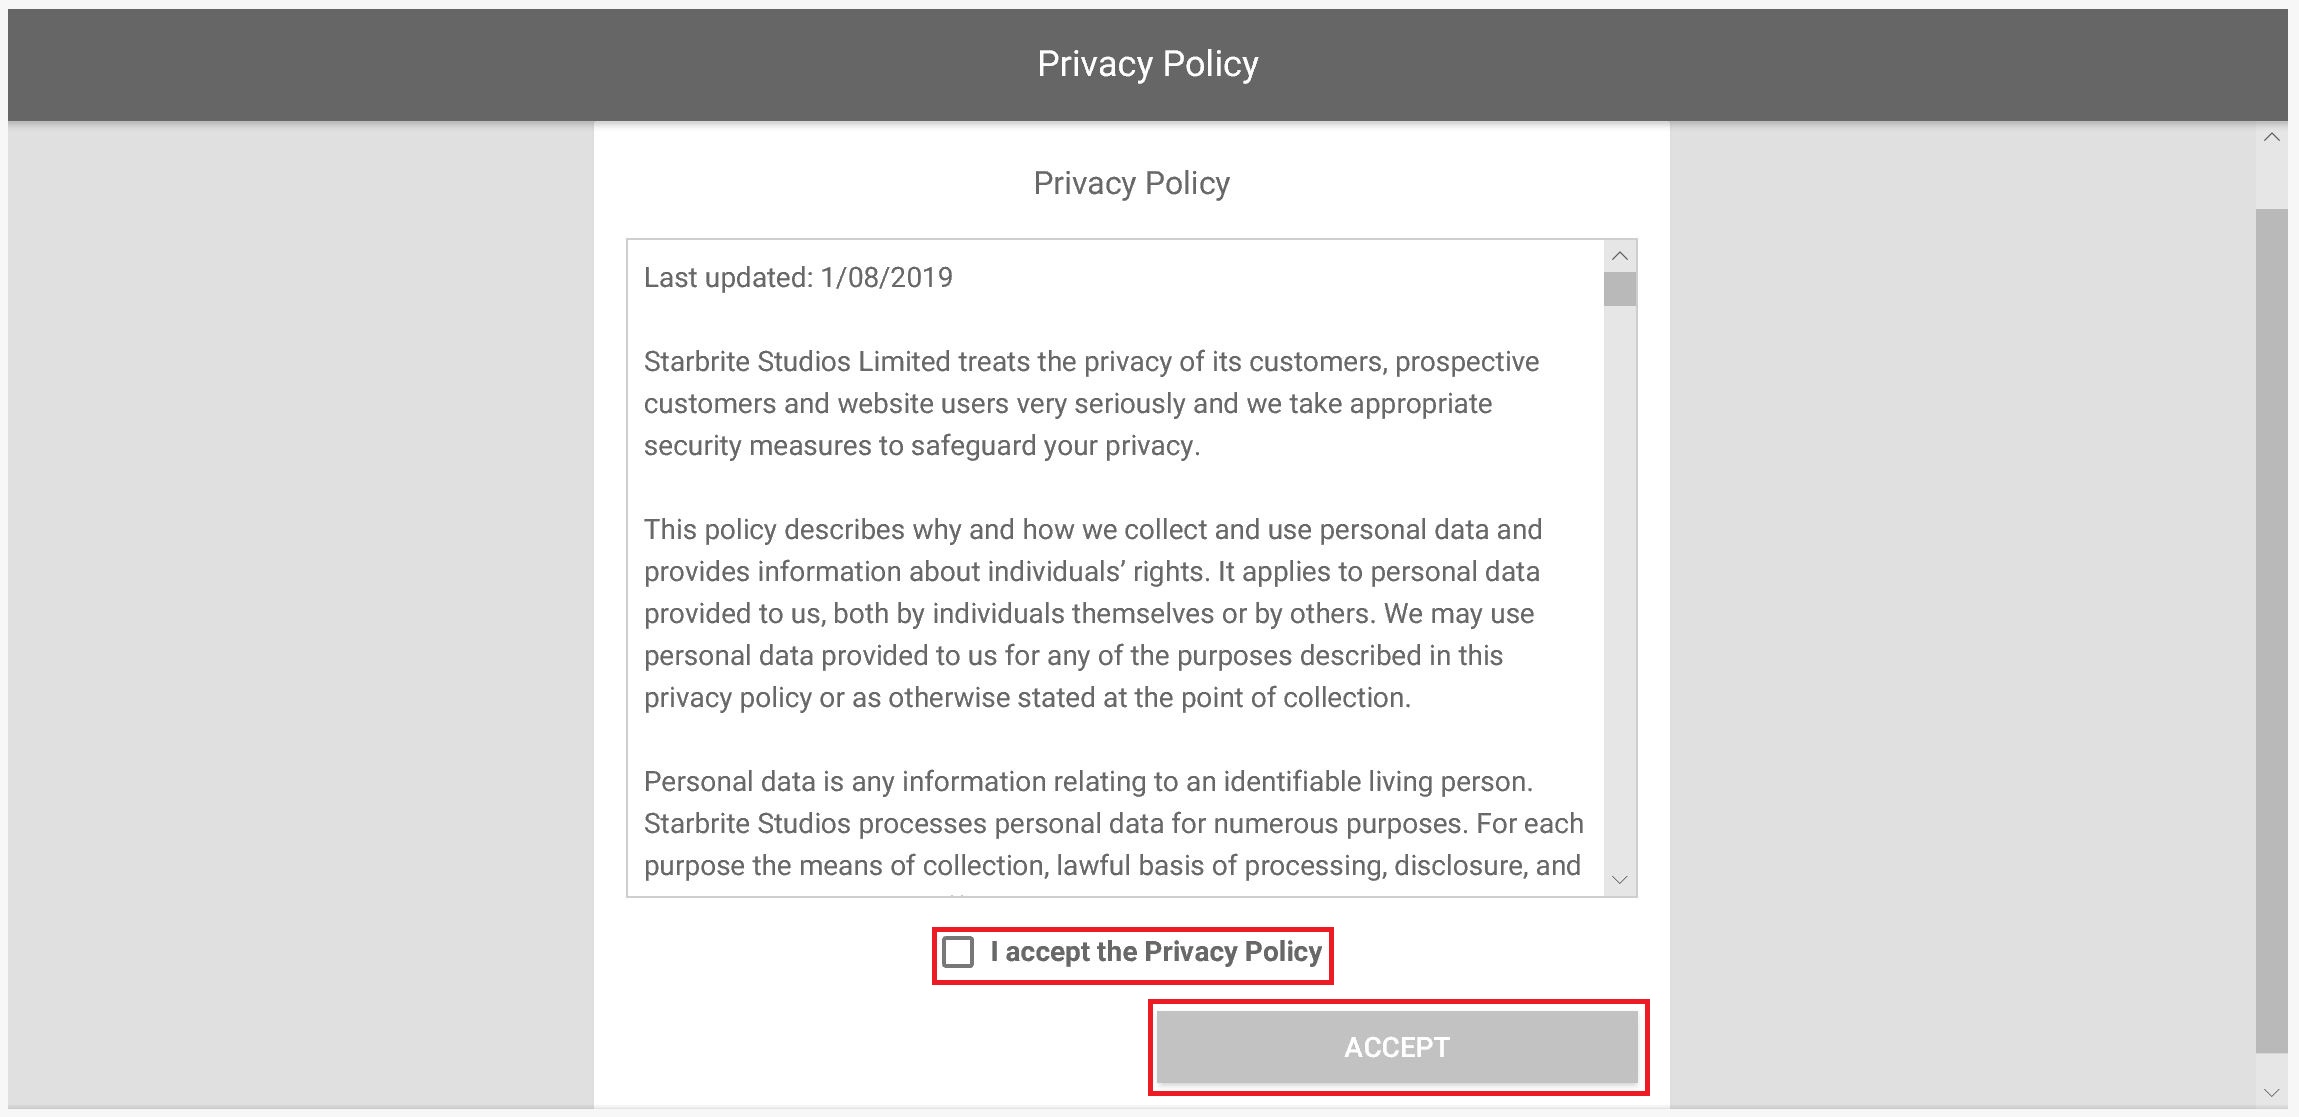
- Starbrite's privacy policy is displayed. Read the policy, click the 'I accept the Privacy Policy' box and then the 'Accept' button.
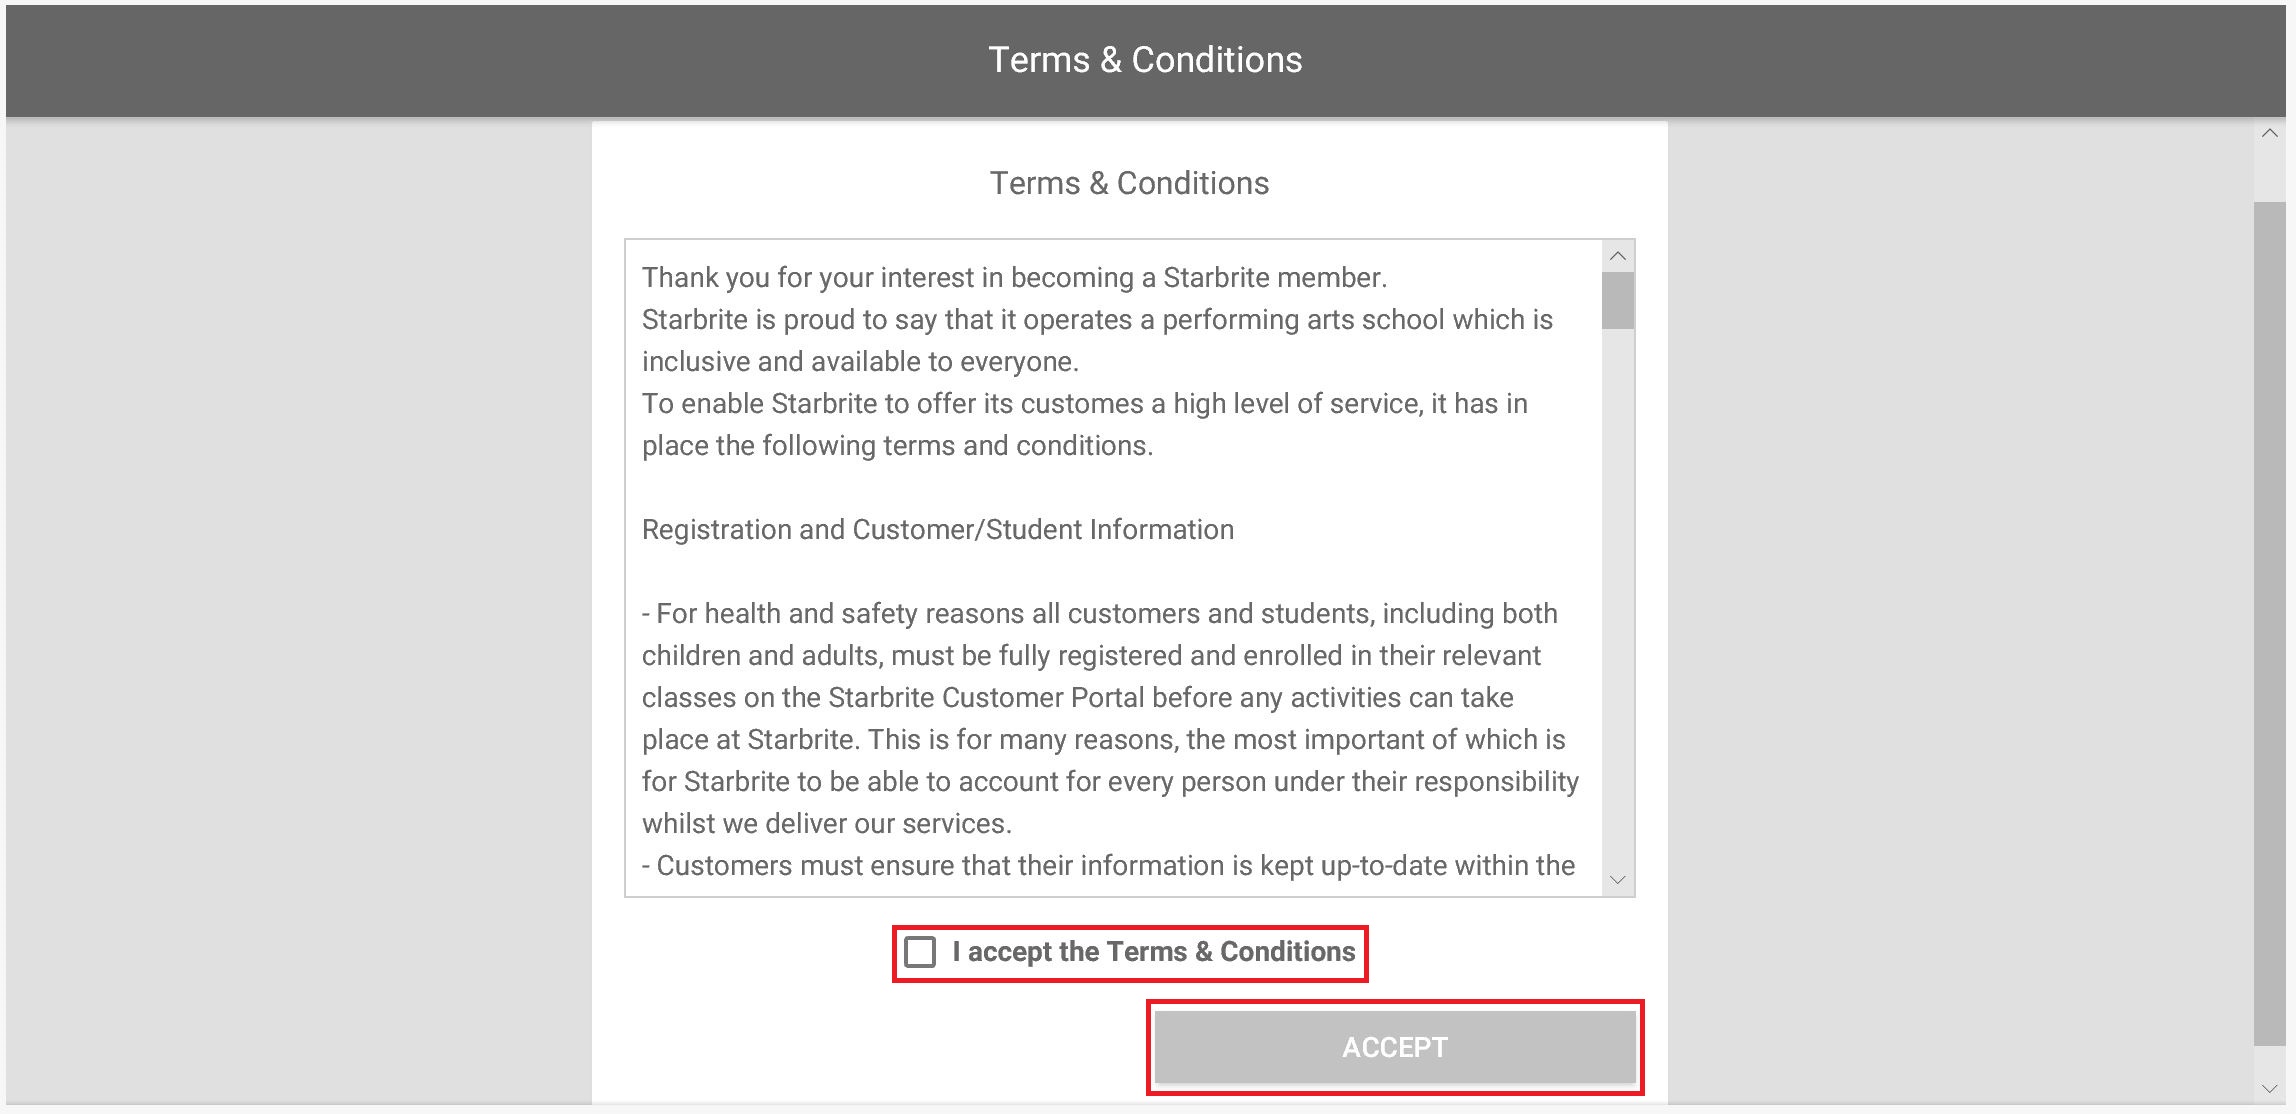
- Starbrite's terms and conditions are displayed. Read the terms and conditions, click the 'I accept the Terms & Conditions' box and then the 'Accept' button.
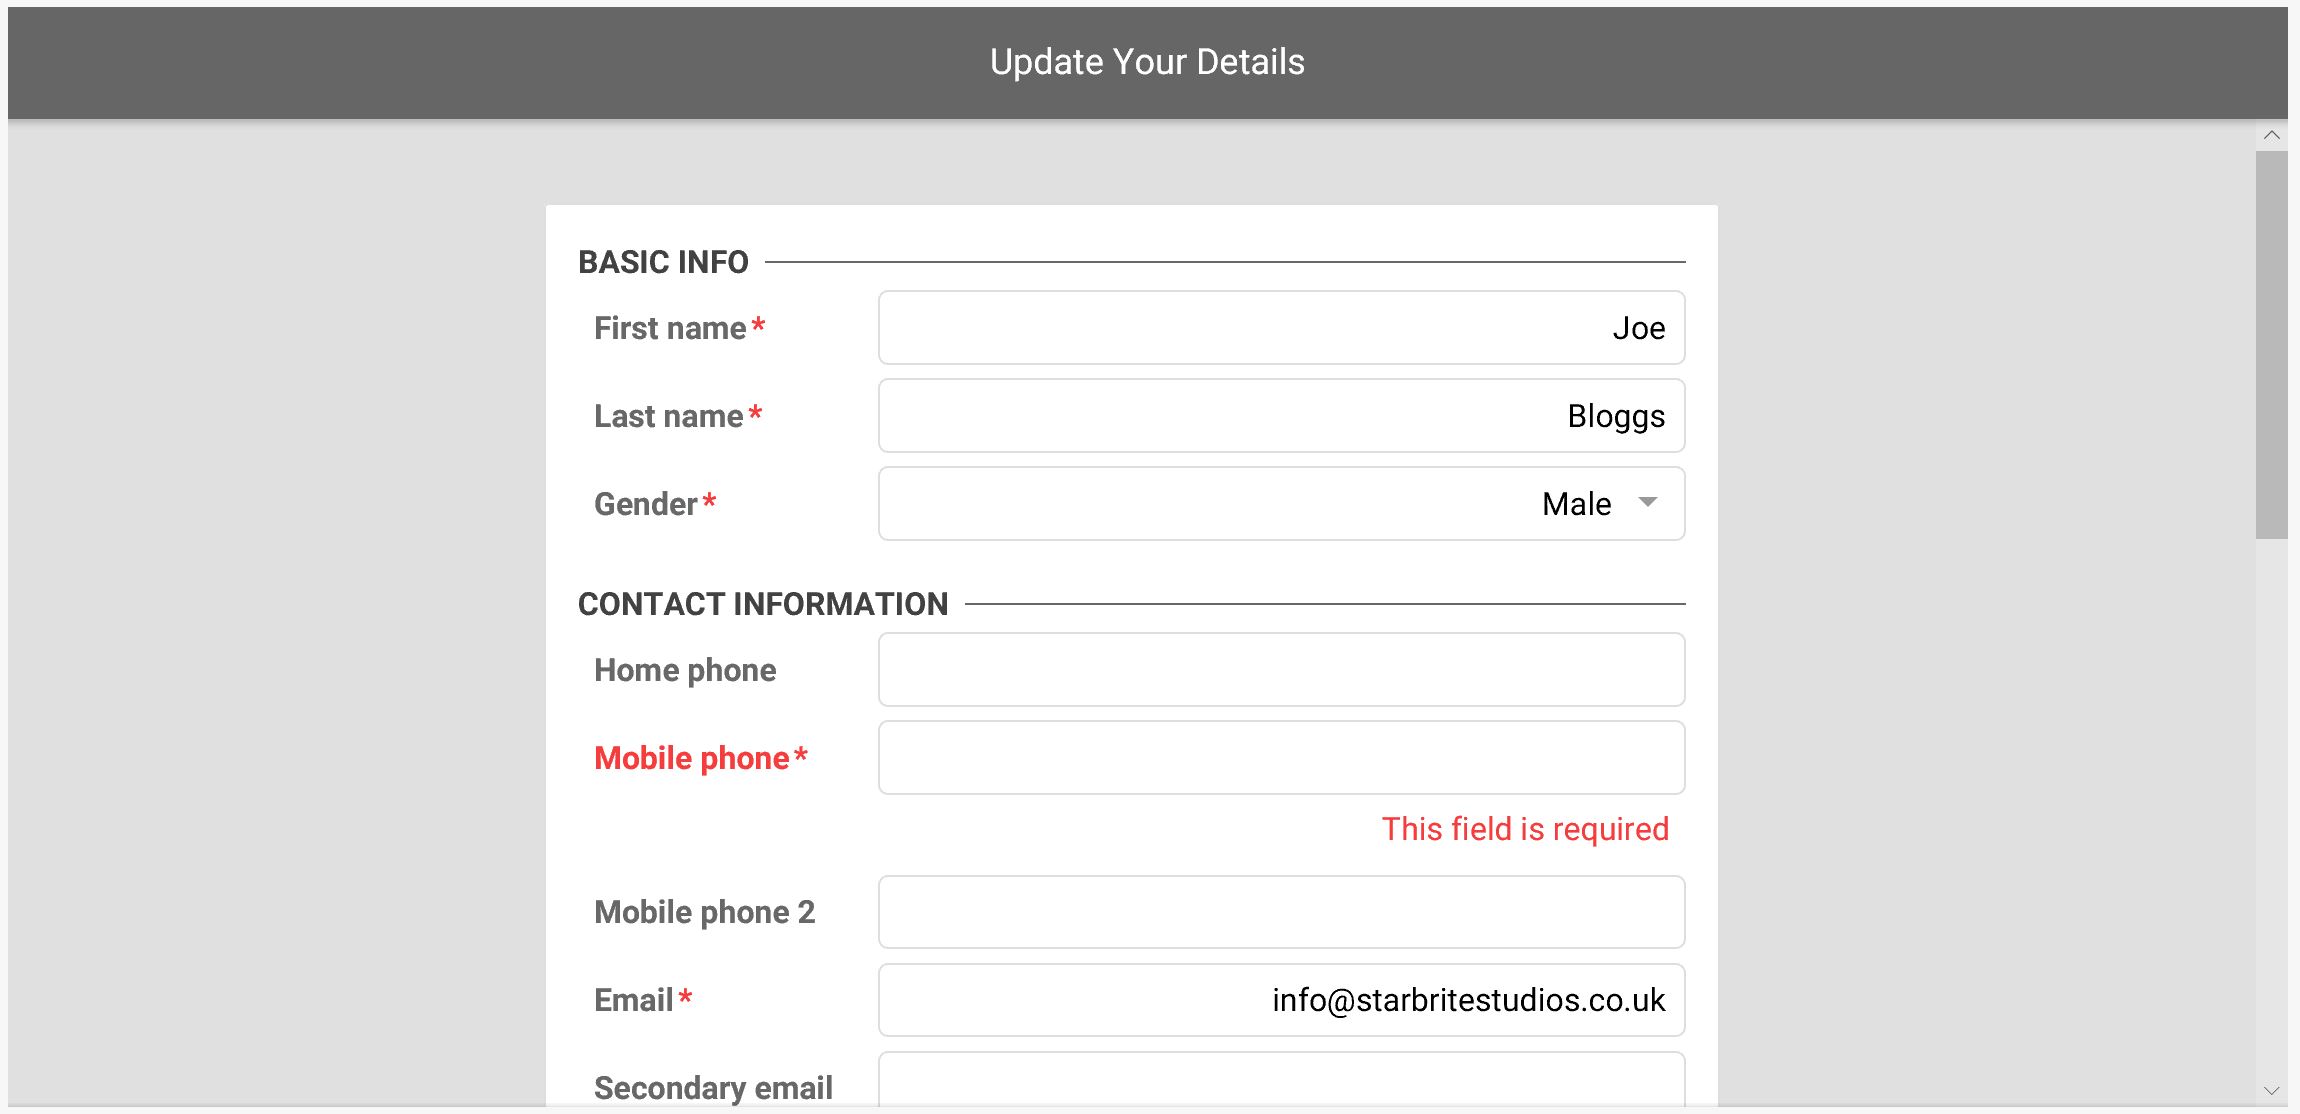
- If you are an existing Starbrite customer, the customer's 'Update Your Details' screen is displayed containing the details Starbrite has stored about you. Missing information which is required as part of the registration process is highlighted in red and is accompanied by an appropriate error message. All missing information must be added before proceeding to the next step. Other missing information which is not mandatory and is therefore not highlighted in red may also be added at this time though can be added later too. If you are a new Starbrite customer, you should enter your details here.
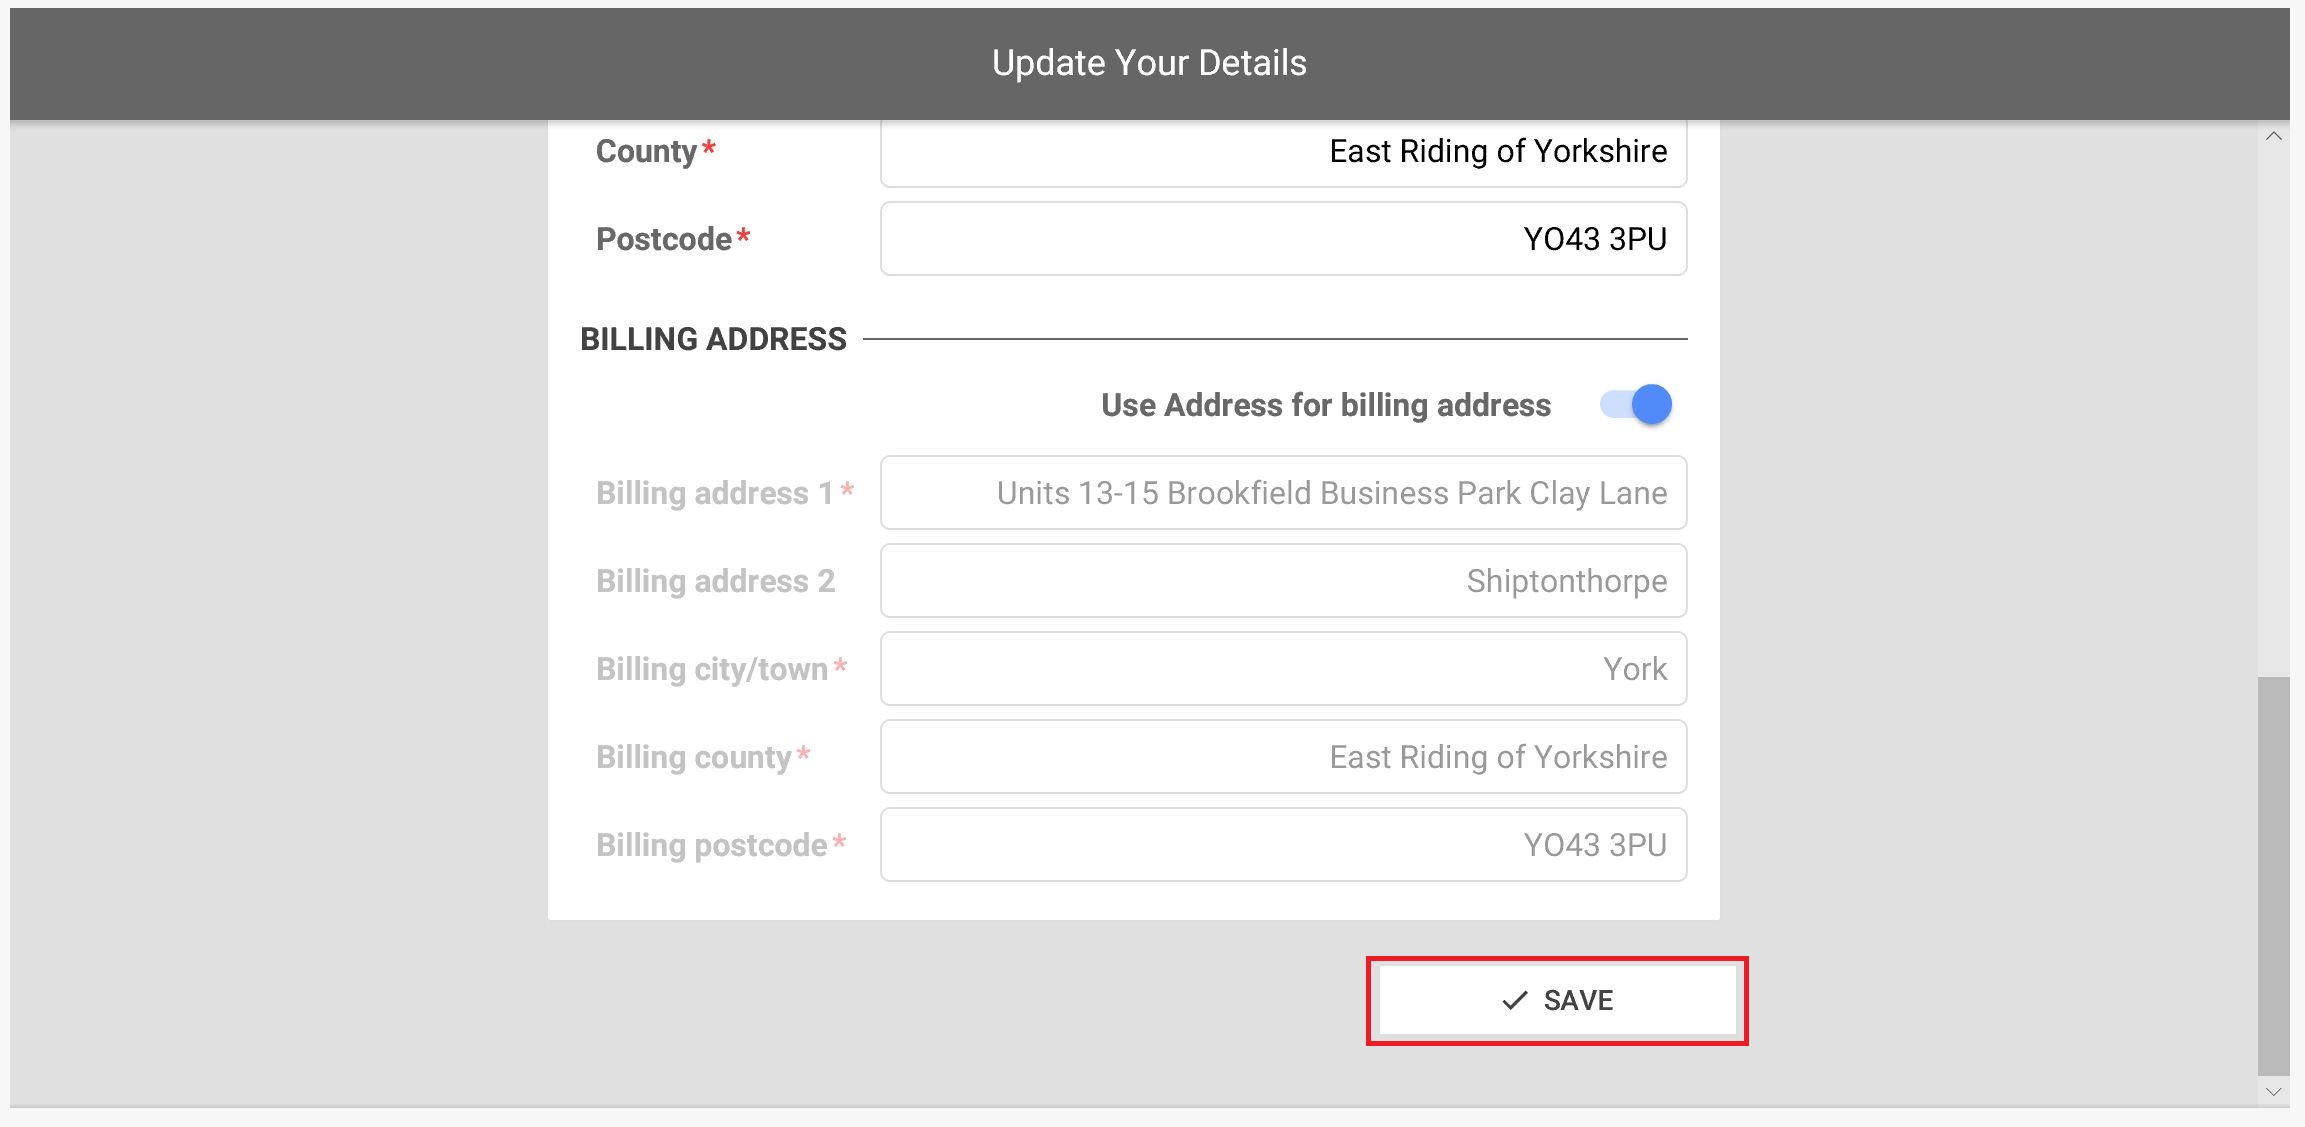
- When all missing mandatory information has been entered, click the 'Save' button.
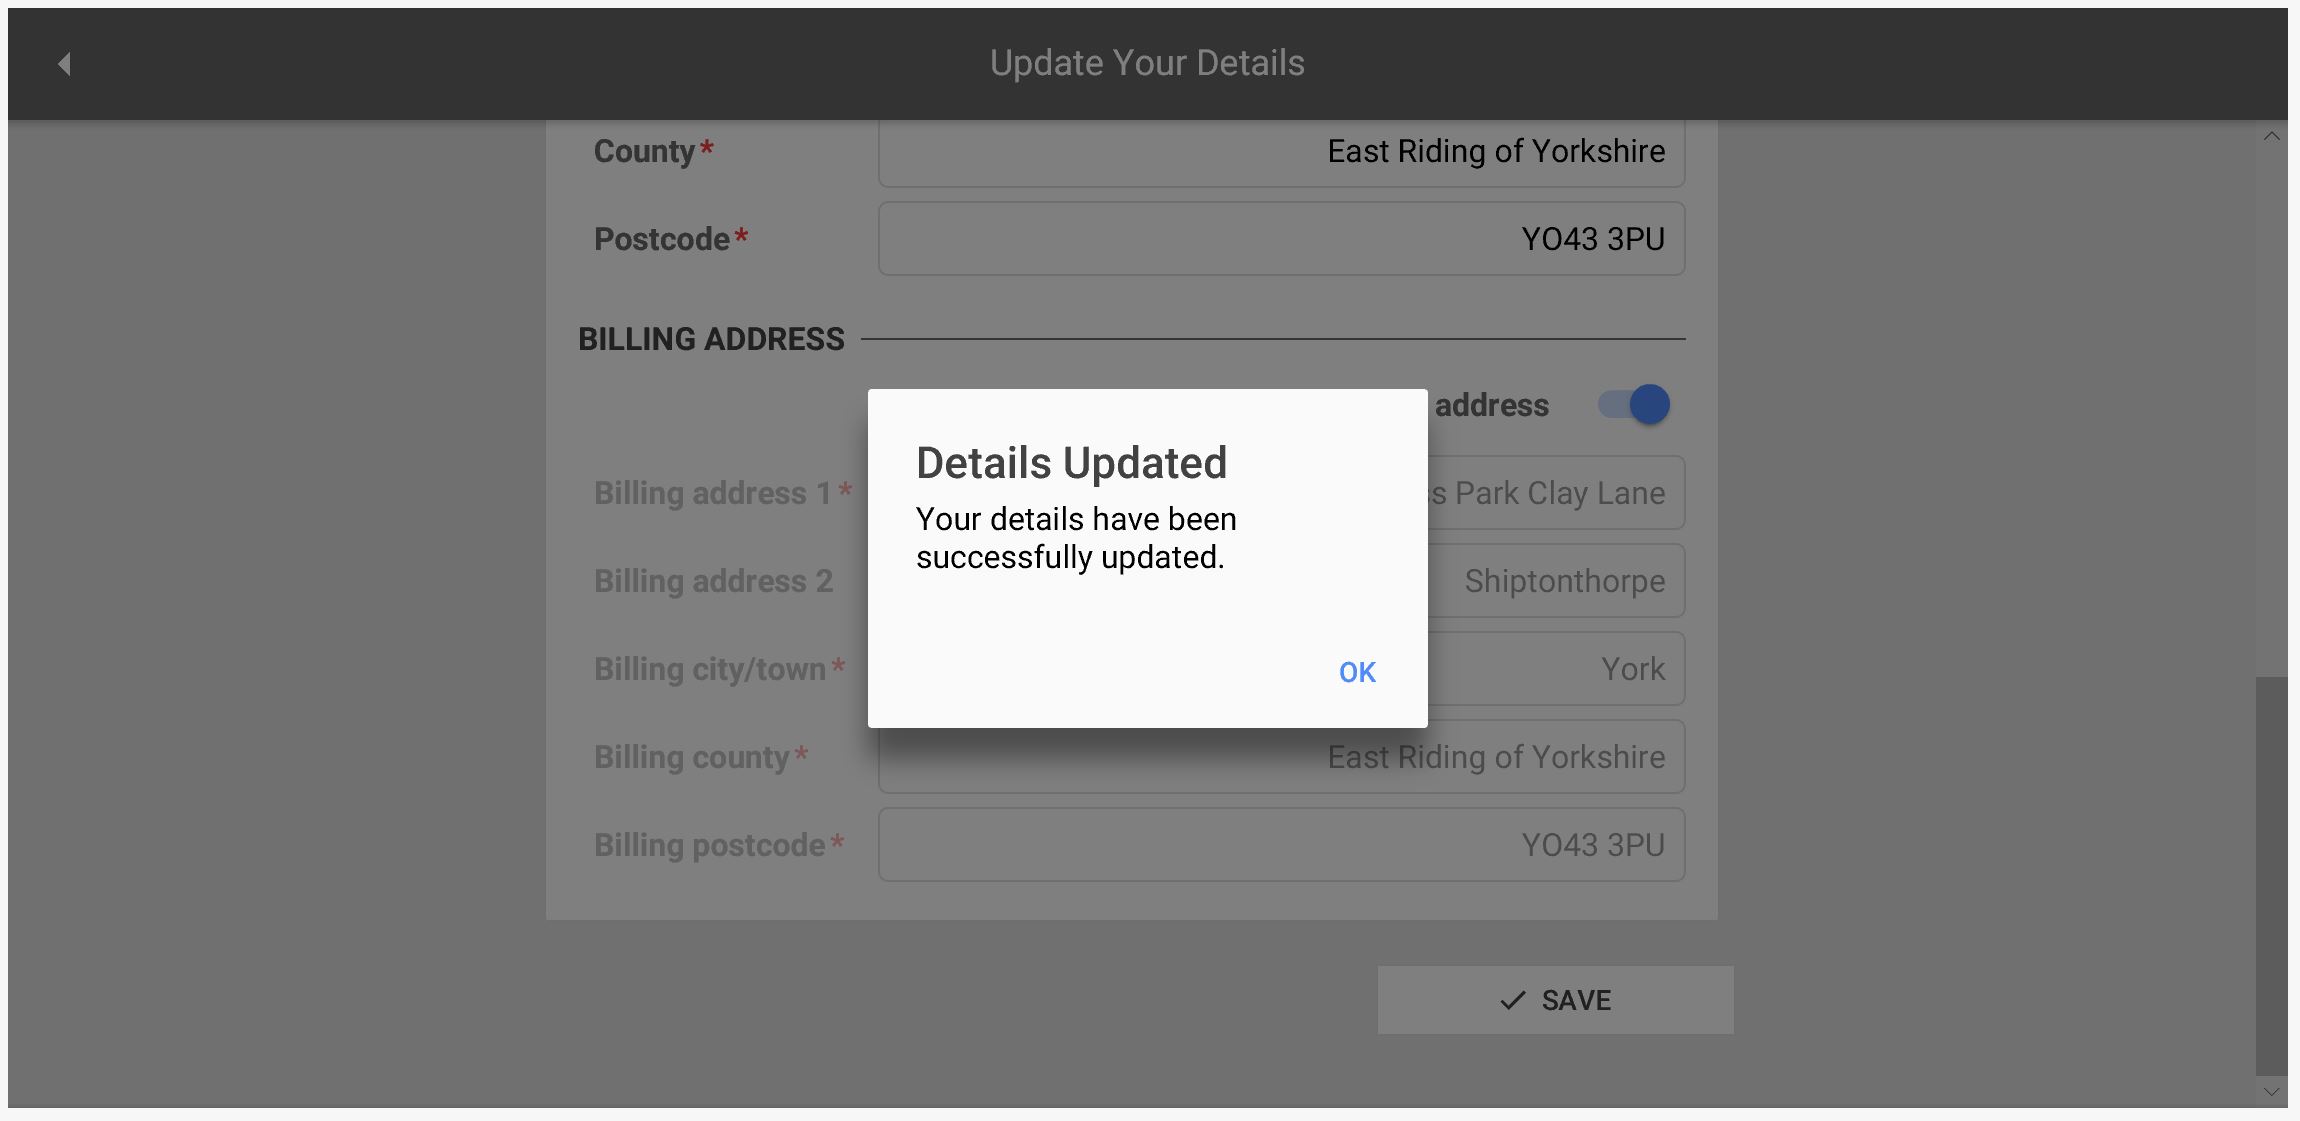
- A confirmation screen is displayed showing that all details have been succesfully updated.
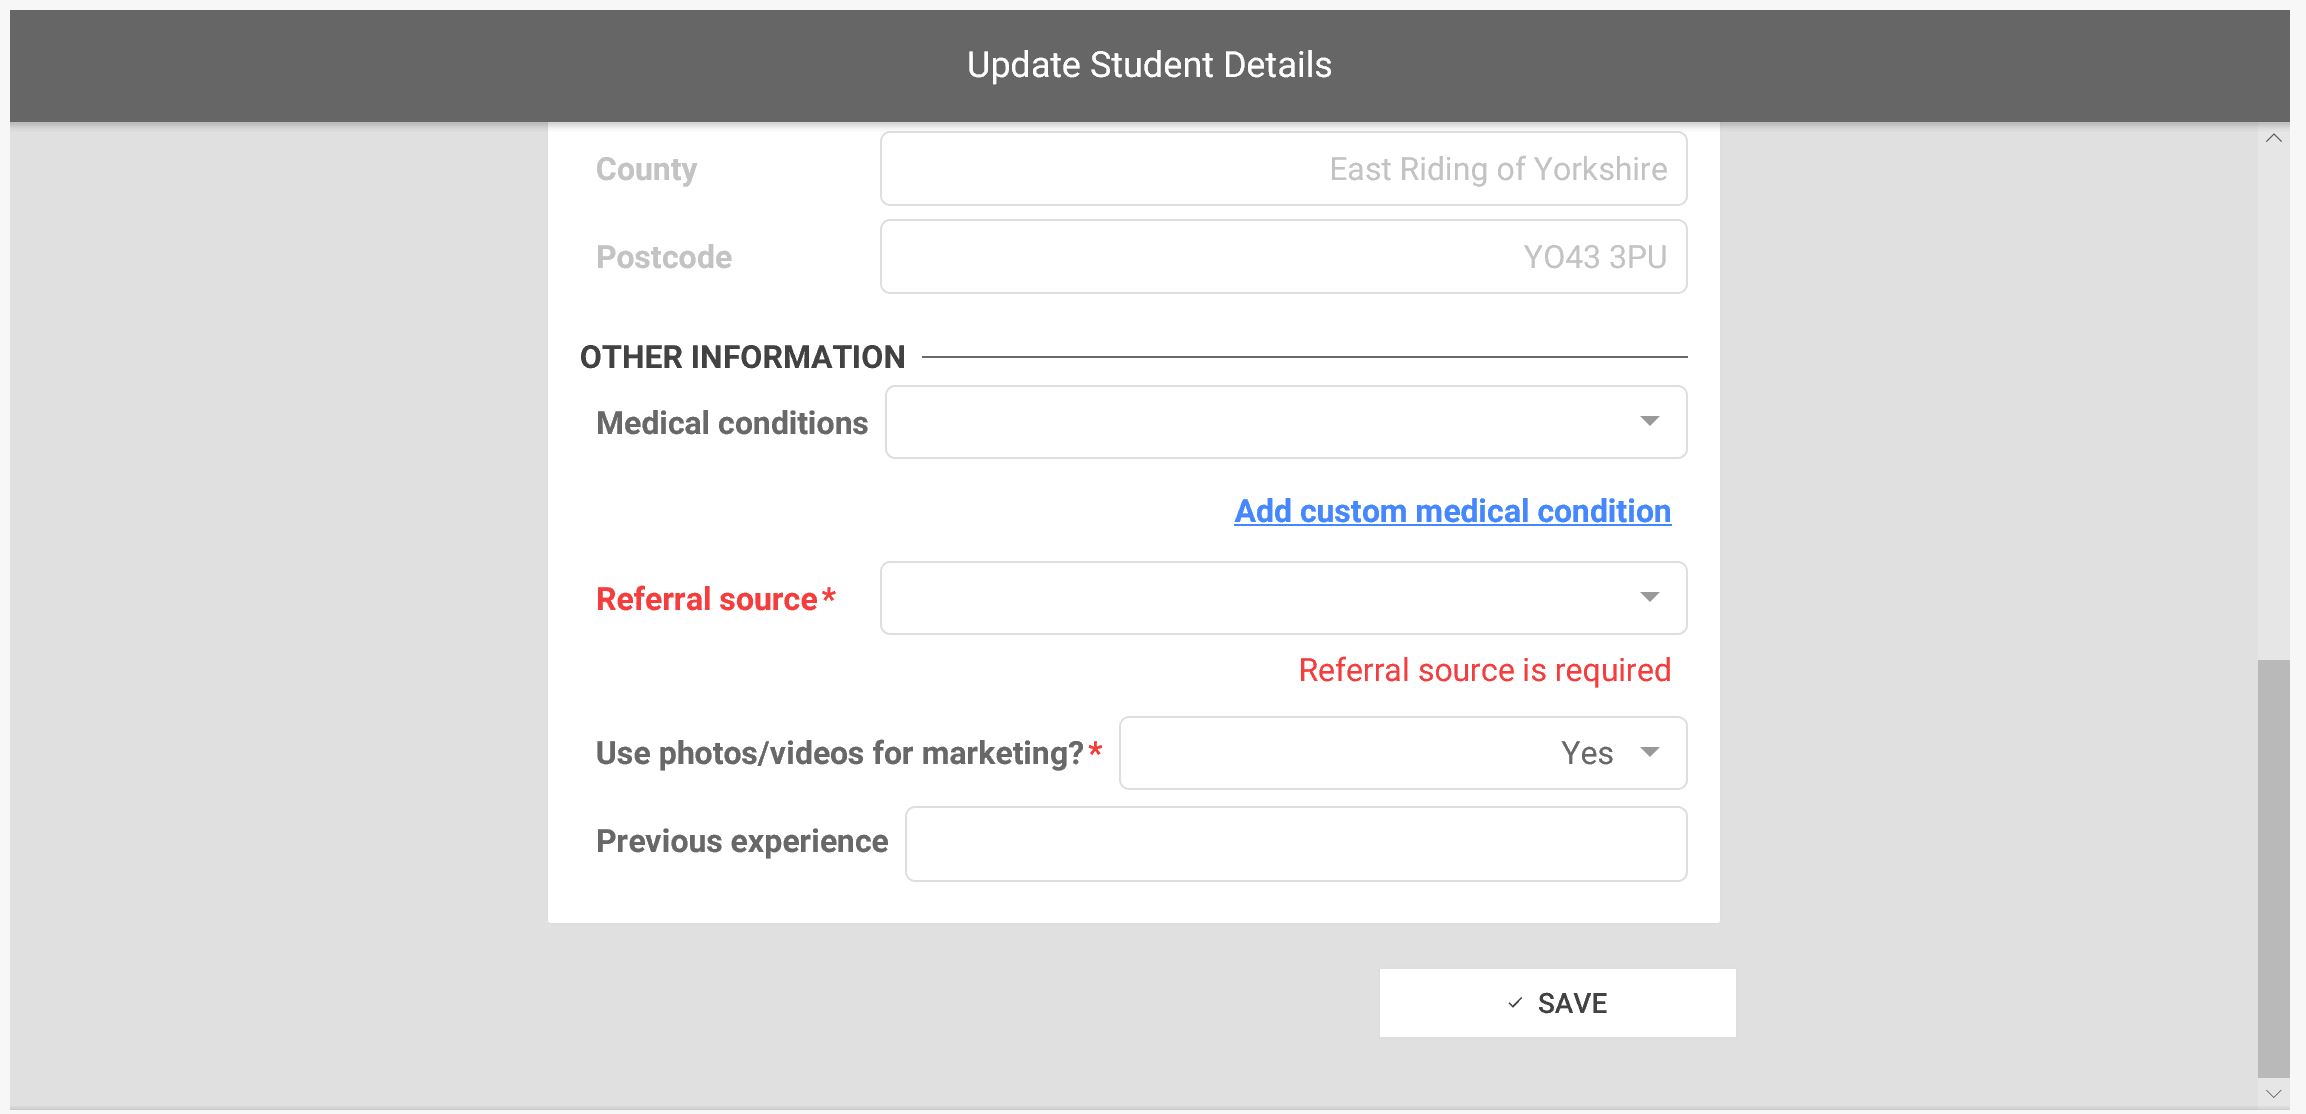
- If you are an existing Starbrite customer and have students associated with you, the student's 'Update Student Details' screen is displayed containing the details Starbrite has stored about each of the students assigned to you. Missing information which is required as part of the registration process is highlighted in red and is accompanied by an appropriate error message. All missing information must be added for each student before proceeding to the next step. Other missing information which is not mandatory and is therefore not highlighted in red may also be added at this time though can be added later too. If you are a new Starbrite customer, you should enter details of each student, one at a time, who you wish to be assigned to you here.
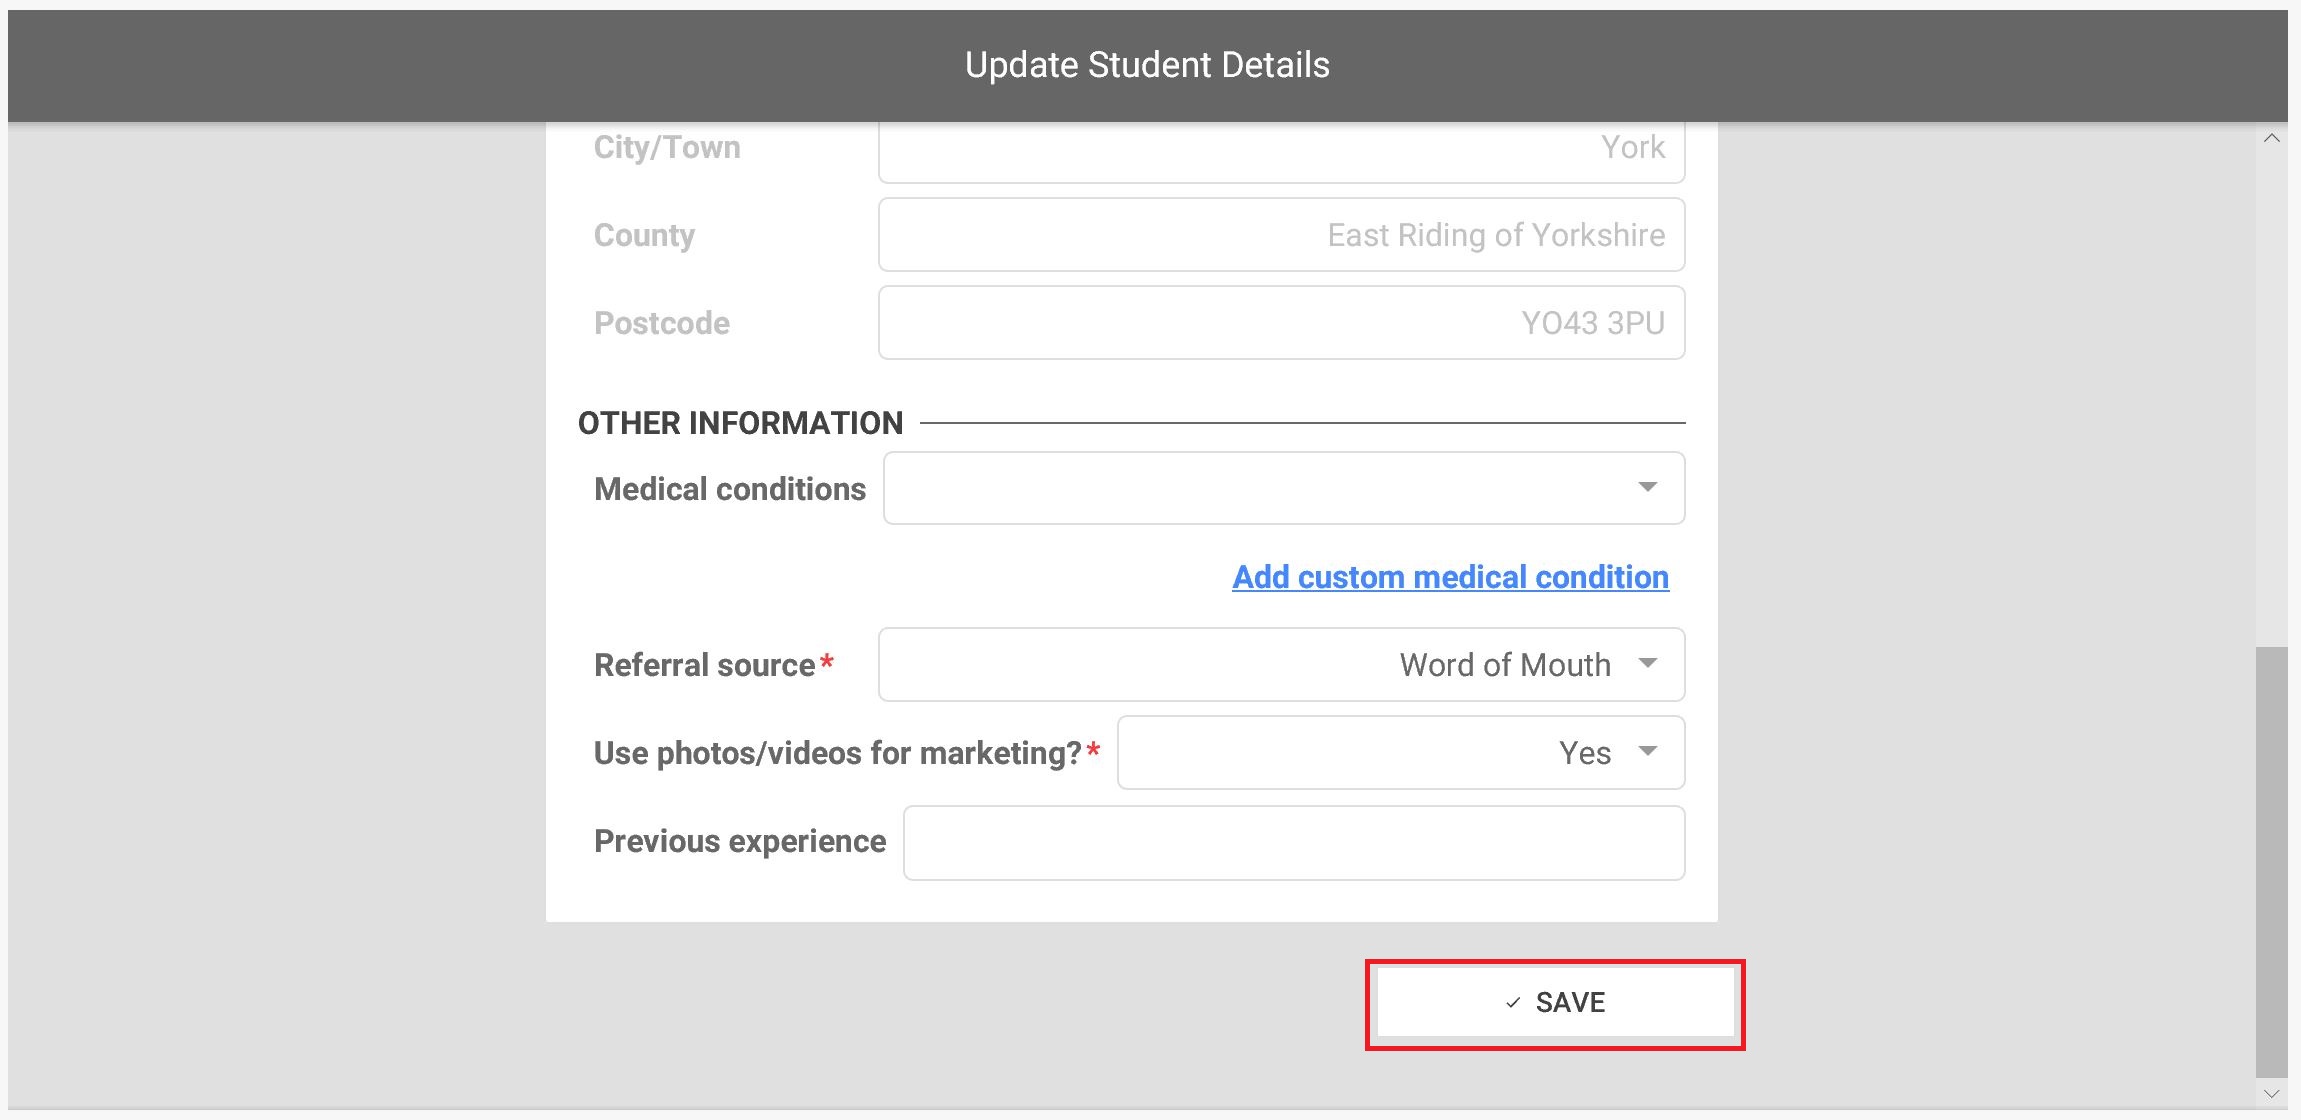
- When all missing mandatory information has been entered, click the 'Save' button.
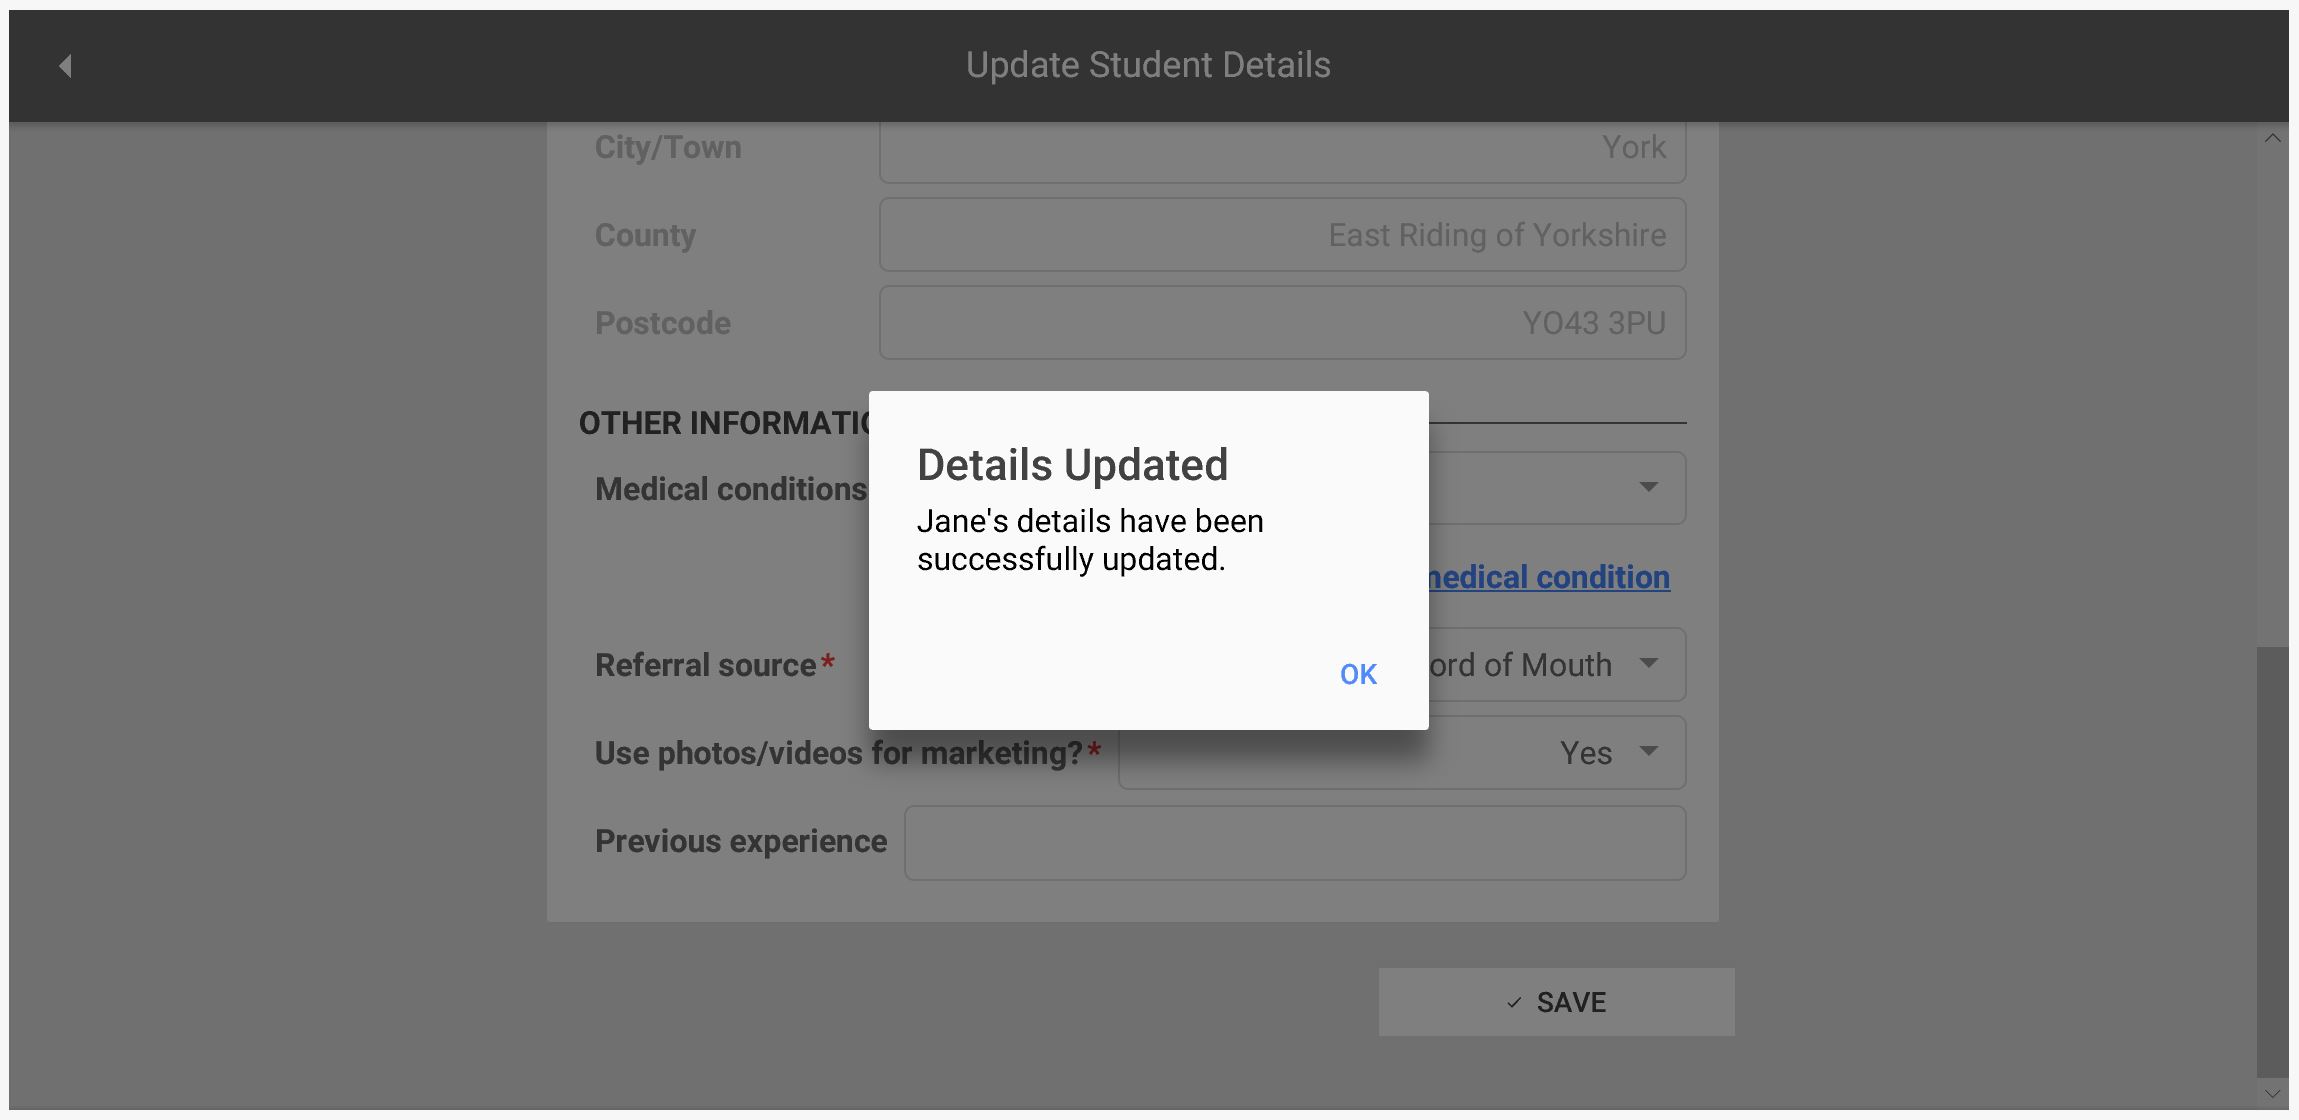
- A confirmation screen is displayed showing that all details have been succesfully updated.
- The registration process is now complete and you are now logged into the Starbrite Customer Portal.

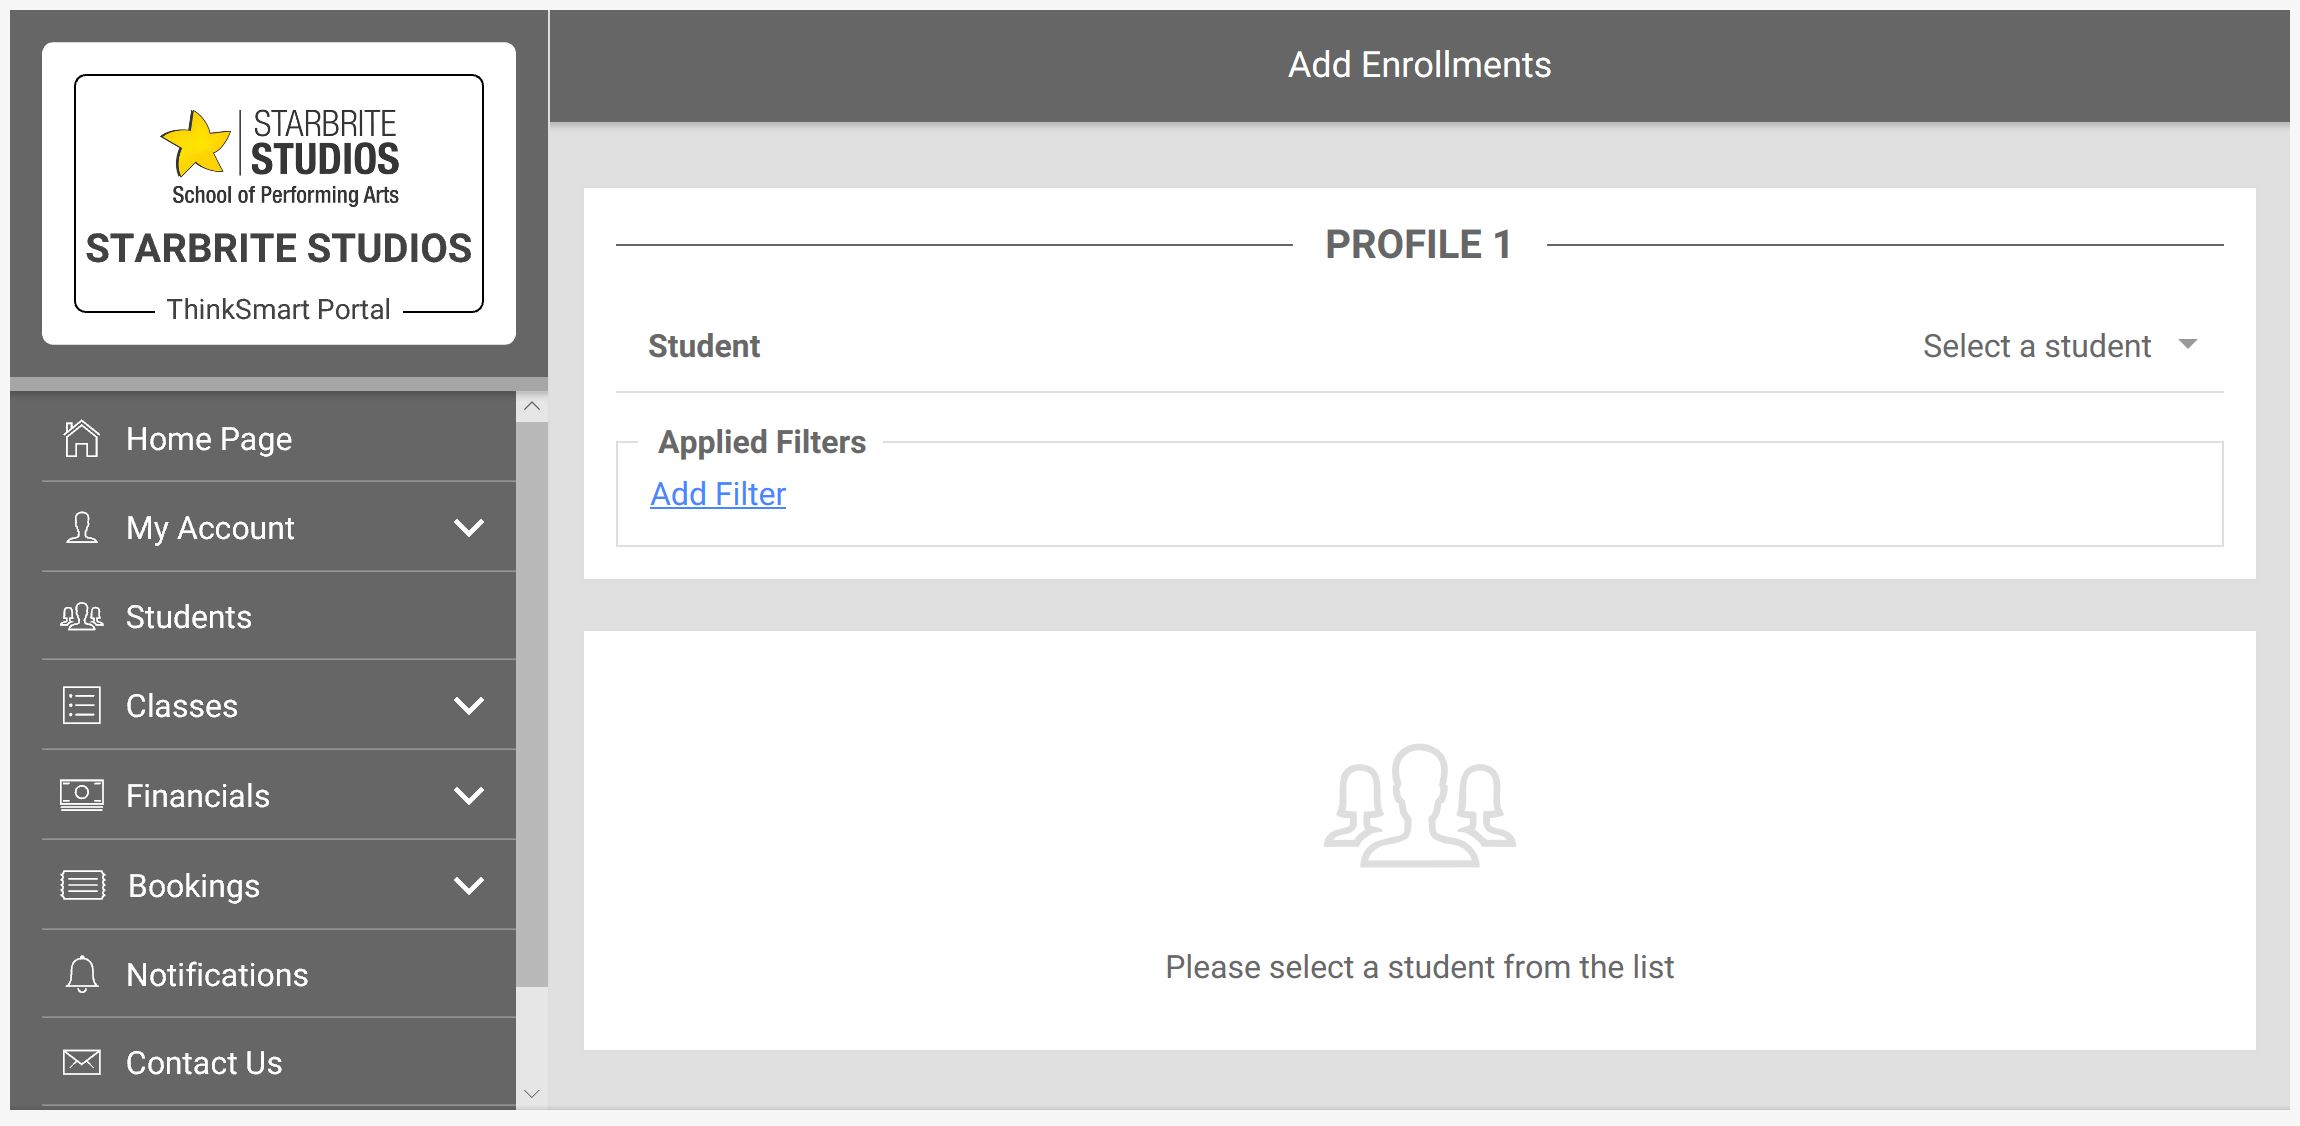
Look out for other tutorials which discuss how to use other features of the portal.